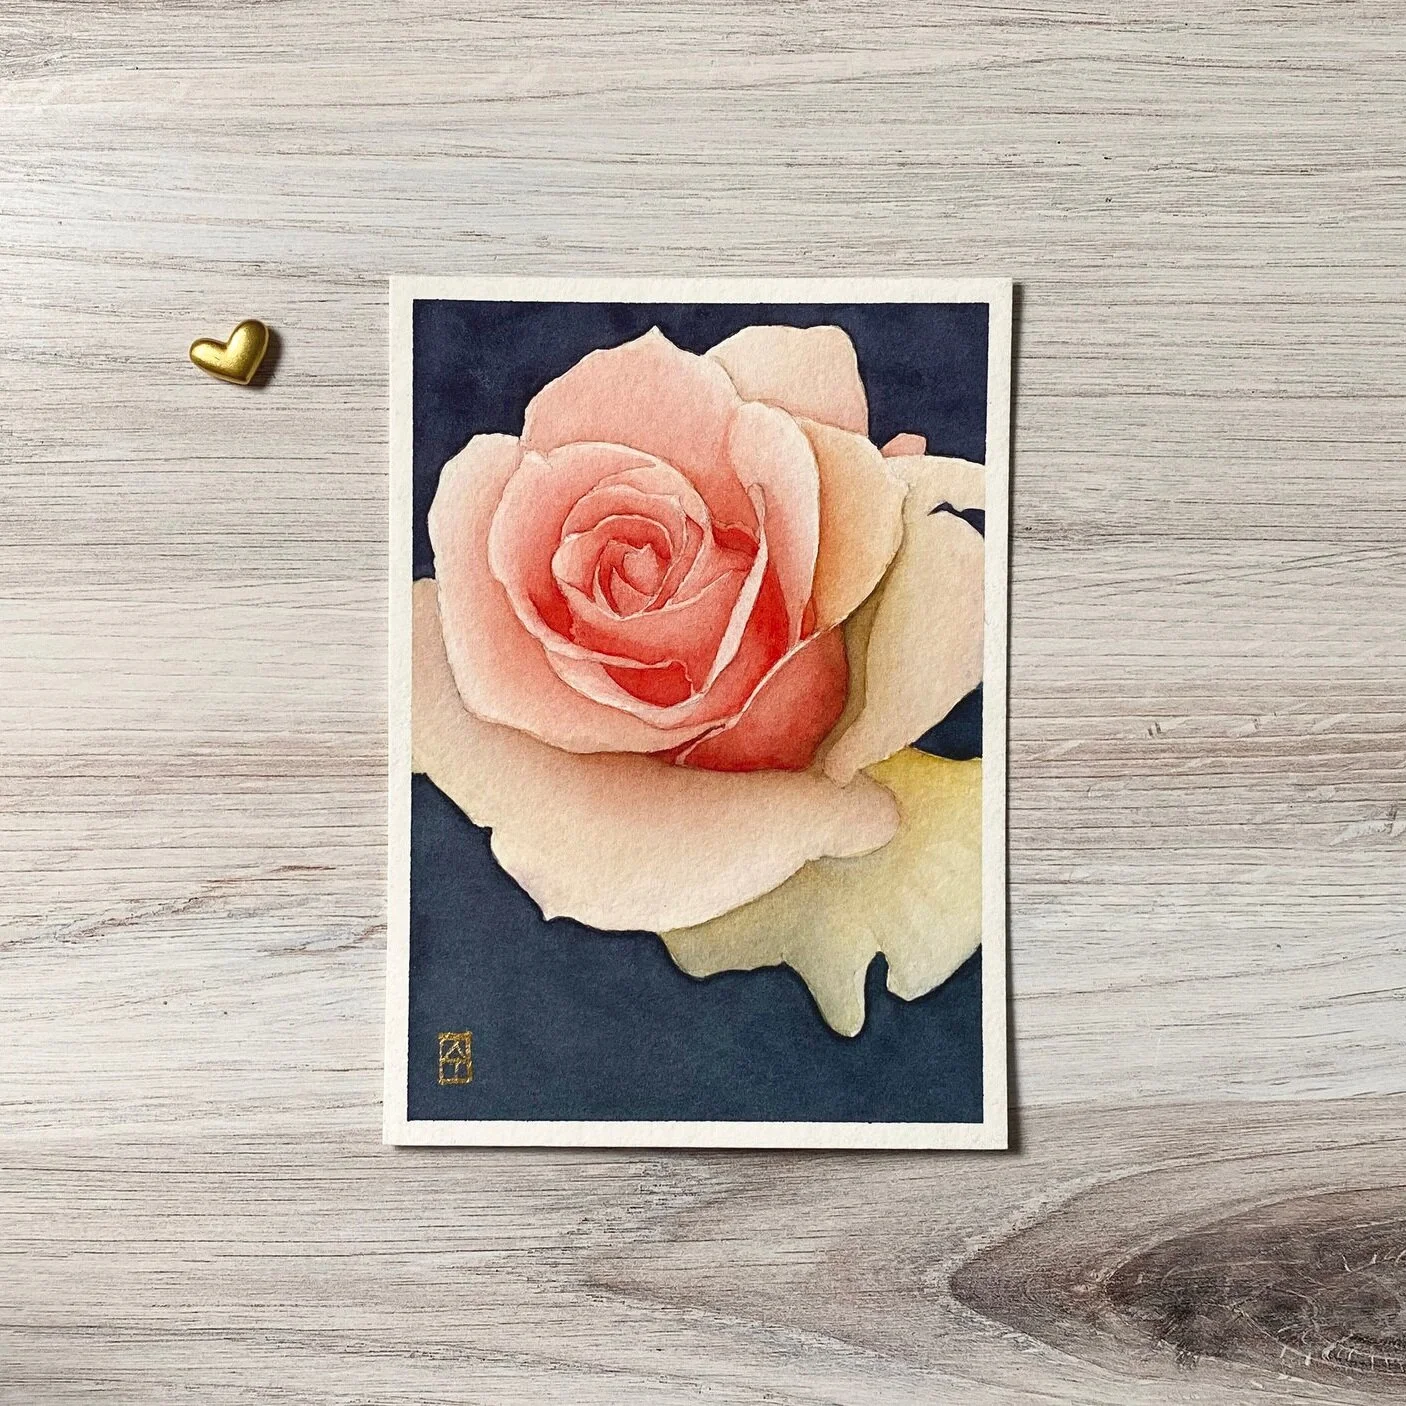
First Bloom Rose Tutorial
Capture the beauty of a rose blossom with watercolor
Recently, I found myself enjoying neighborhood strolls and marveling at the spring blossoms along the path. These natural beauties inspired my adventure in creating this botanical watercolor series and provided an opportunity to practice tighter, more illustrative painting techniques. I hope this tutorial might inspire you to do the same.
Getting Started
Step 1: Gather Your Materials
Cold press watercolor paper (5x7)
Masking Tape
Palette
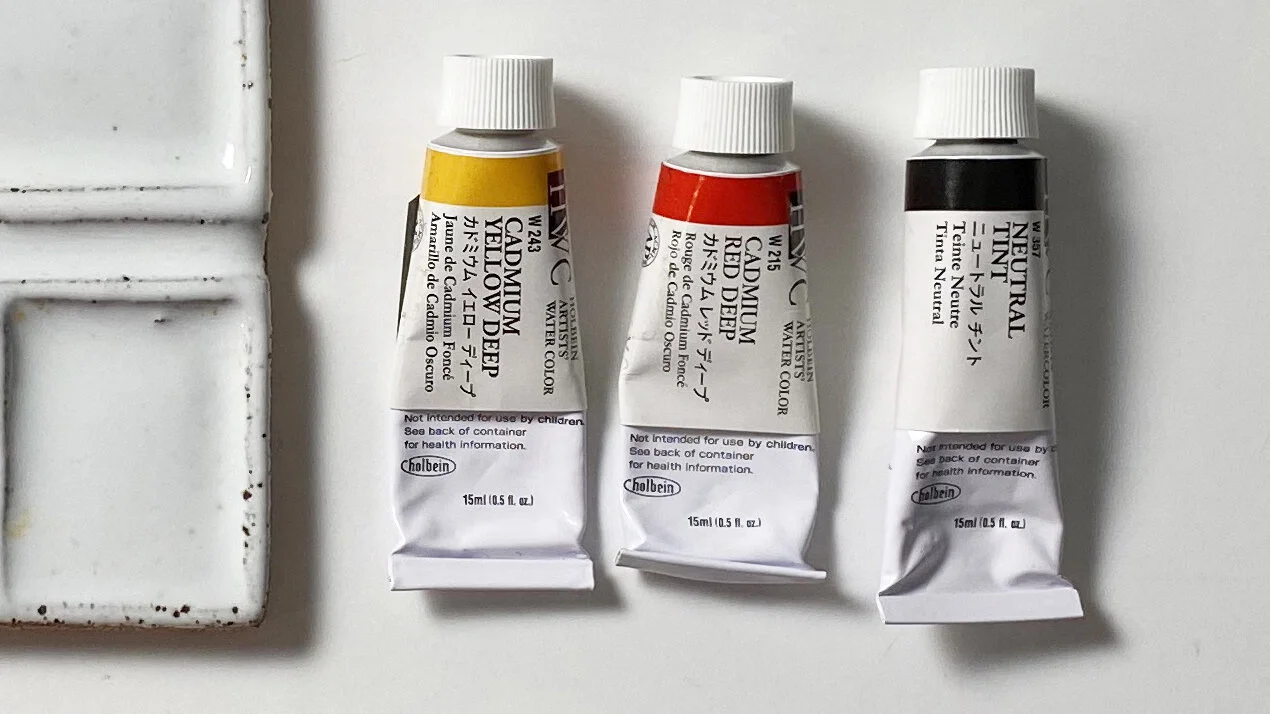
Cadmium Yellow Deep
Cadmium Red Deep
Neutral Tint
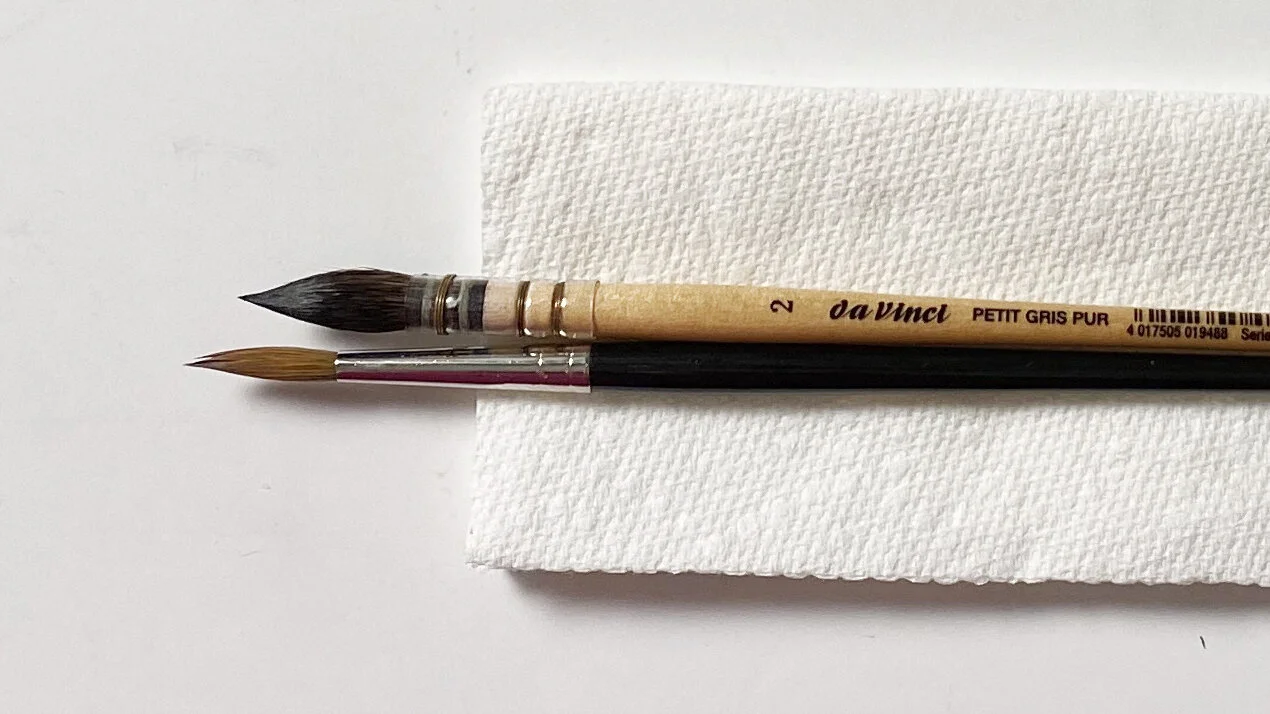
Mop brush (No. 2)
Round brush (No. 6)
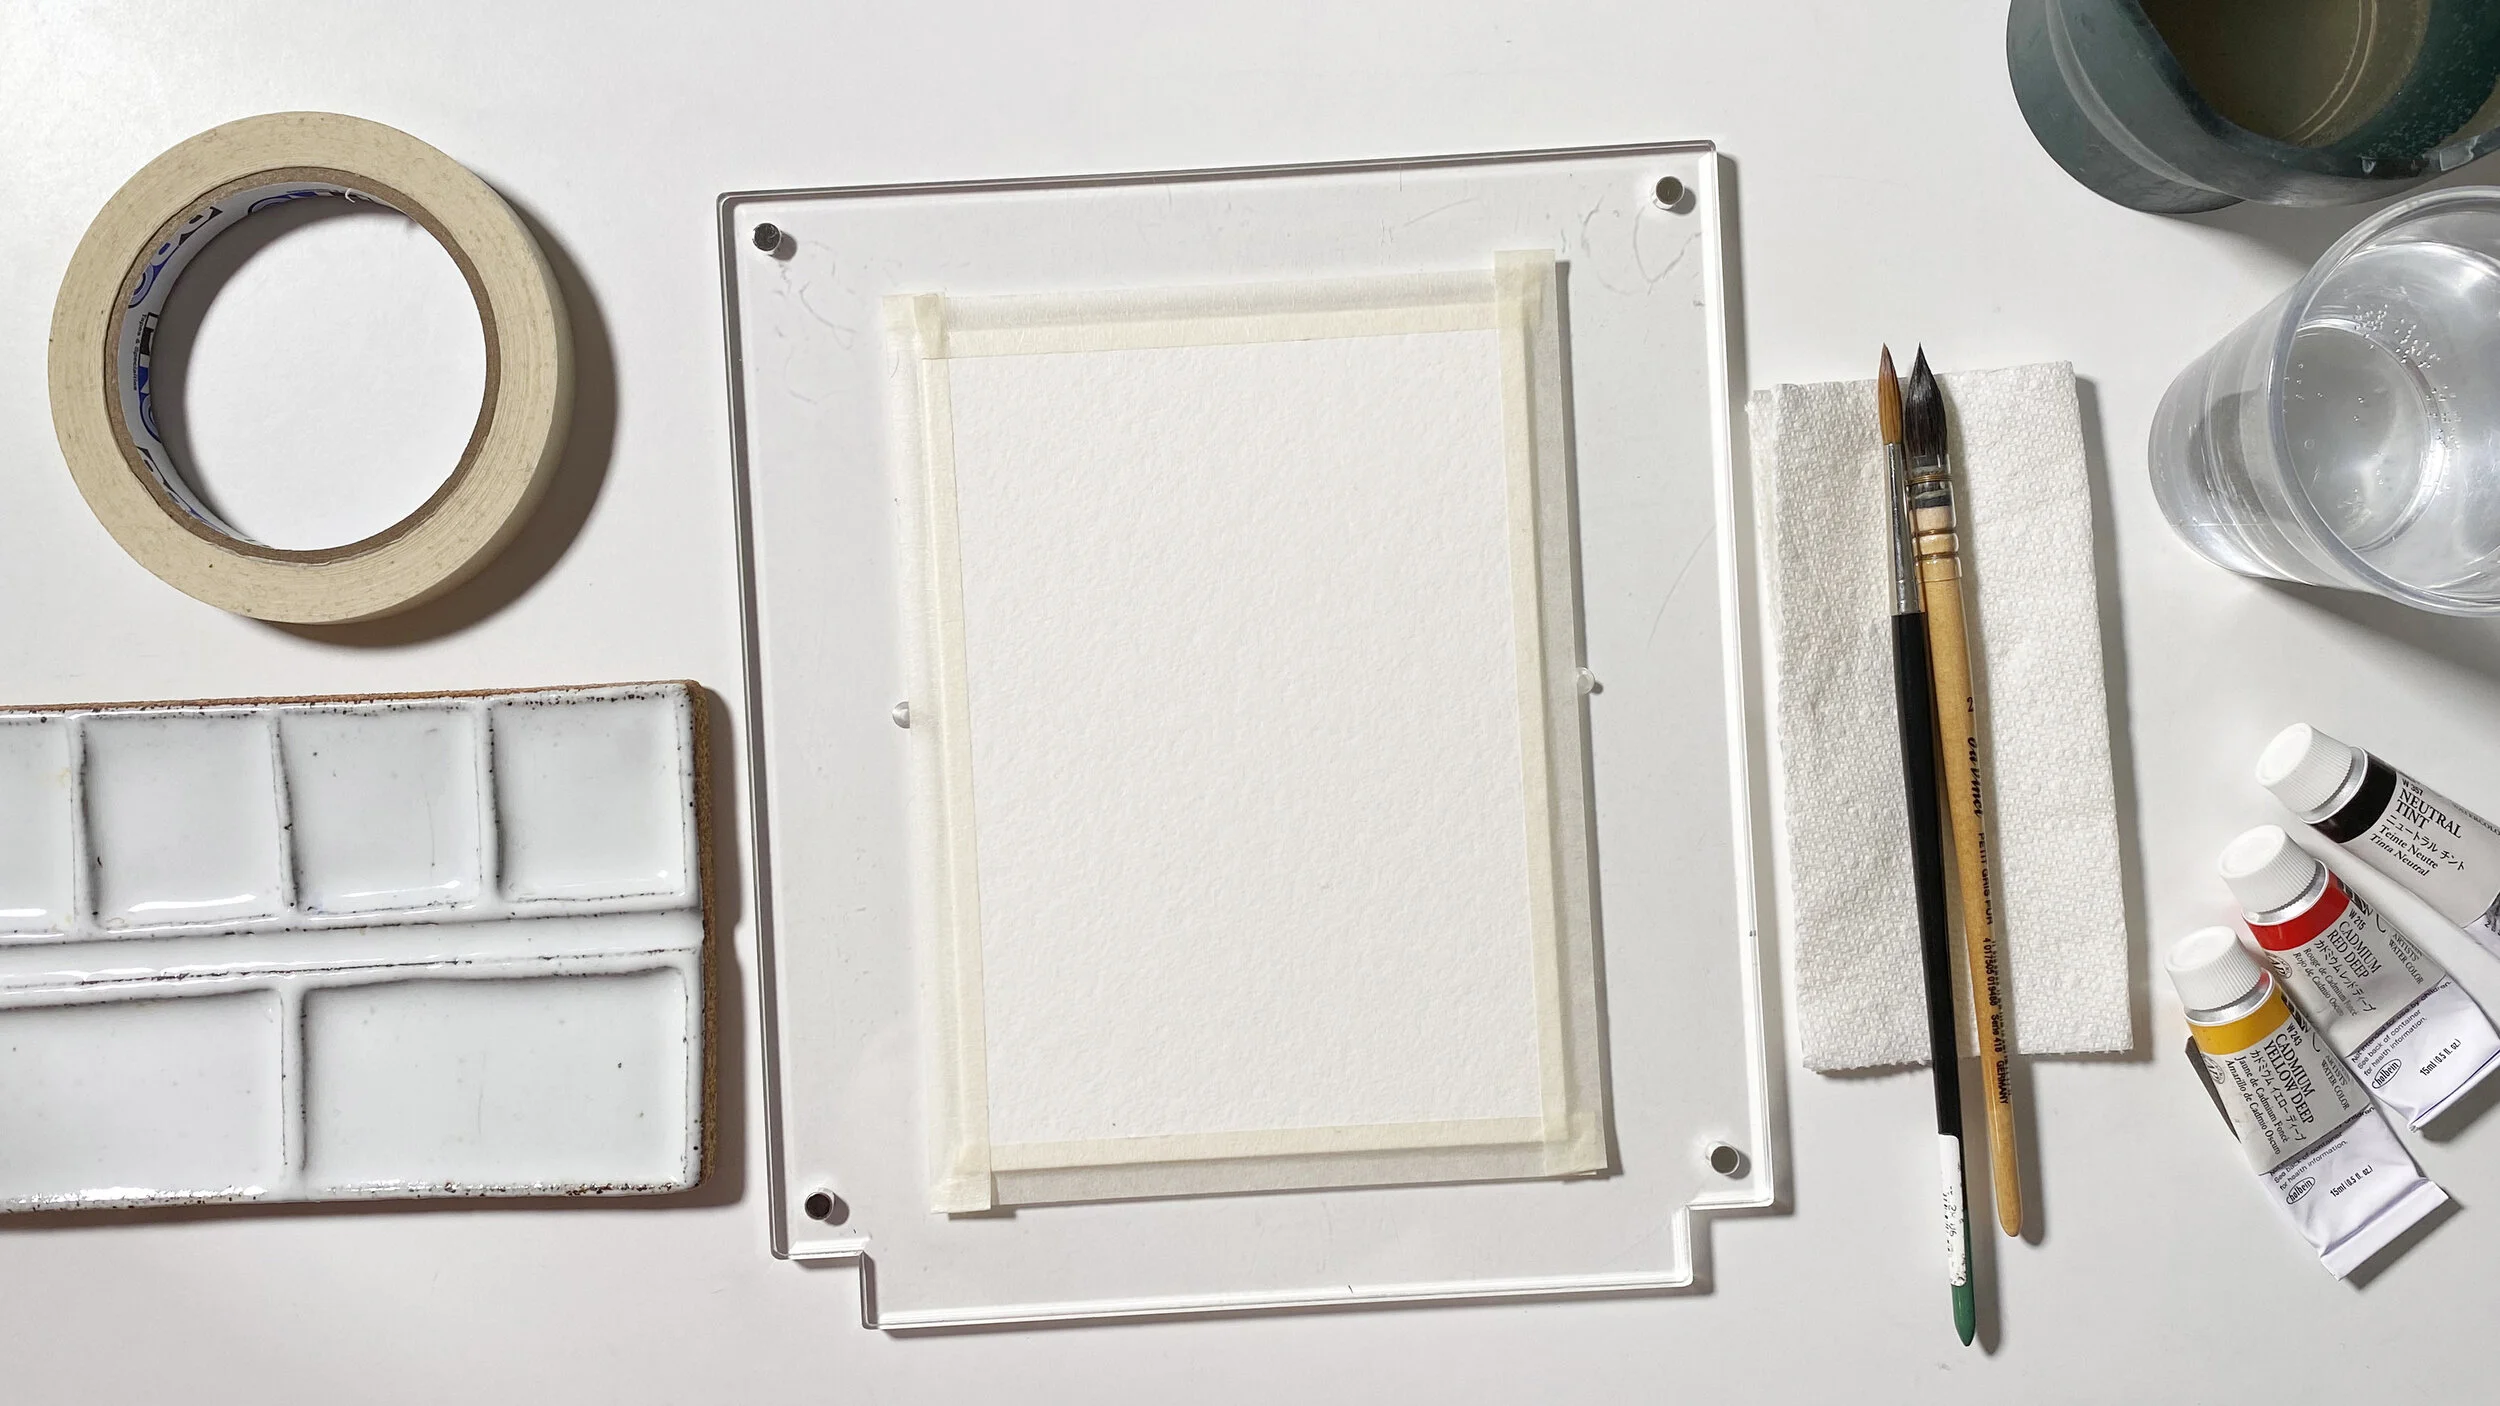
First, let’s start by gathering our materials. You’ll want to have a palette for mixing. It doesn’t have to be anything fancy, but I like to use a ceramic palette. You can use any tin or plastic palette that comes with your watercolor set.
The main colors we’ll be using to create the beautiful gradation are cadmium red and cadmium yellow. I’ve thrown in a neutral tint—a non-staining deep purply grey that will be used for my background; it also mixes well with any color for shadow tones.
For brushes, I’m choosing a squirrel mop and a natural hair round brush. Both are incredibly versatile for creating glazes and washes as well as detail and line work. However, any medium-sized natural or synthetic round brush that holds plenty of water works fine.
My paper is a 300 lb./640 gsm, 100% cotton paper, double the thickness of standard watercolor paper but perfect for handling multiple layers of washes. You can also use 140 lb./300gsm, just be sure to tape down the edges to allow your page to dry flat between washes, and to minimize warping.
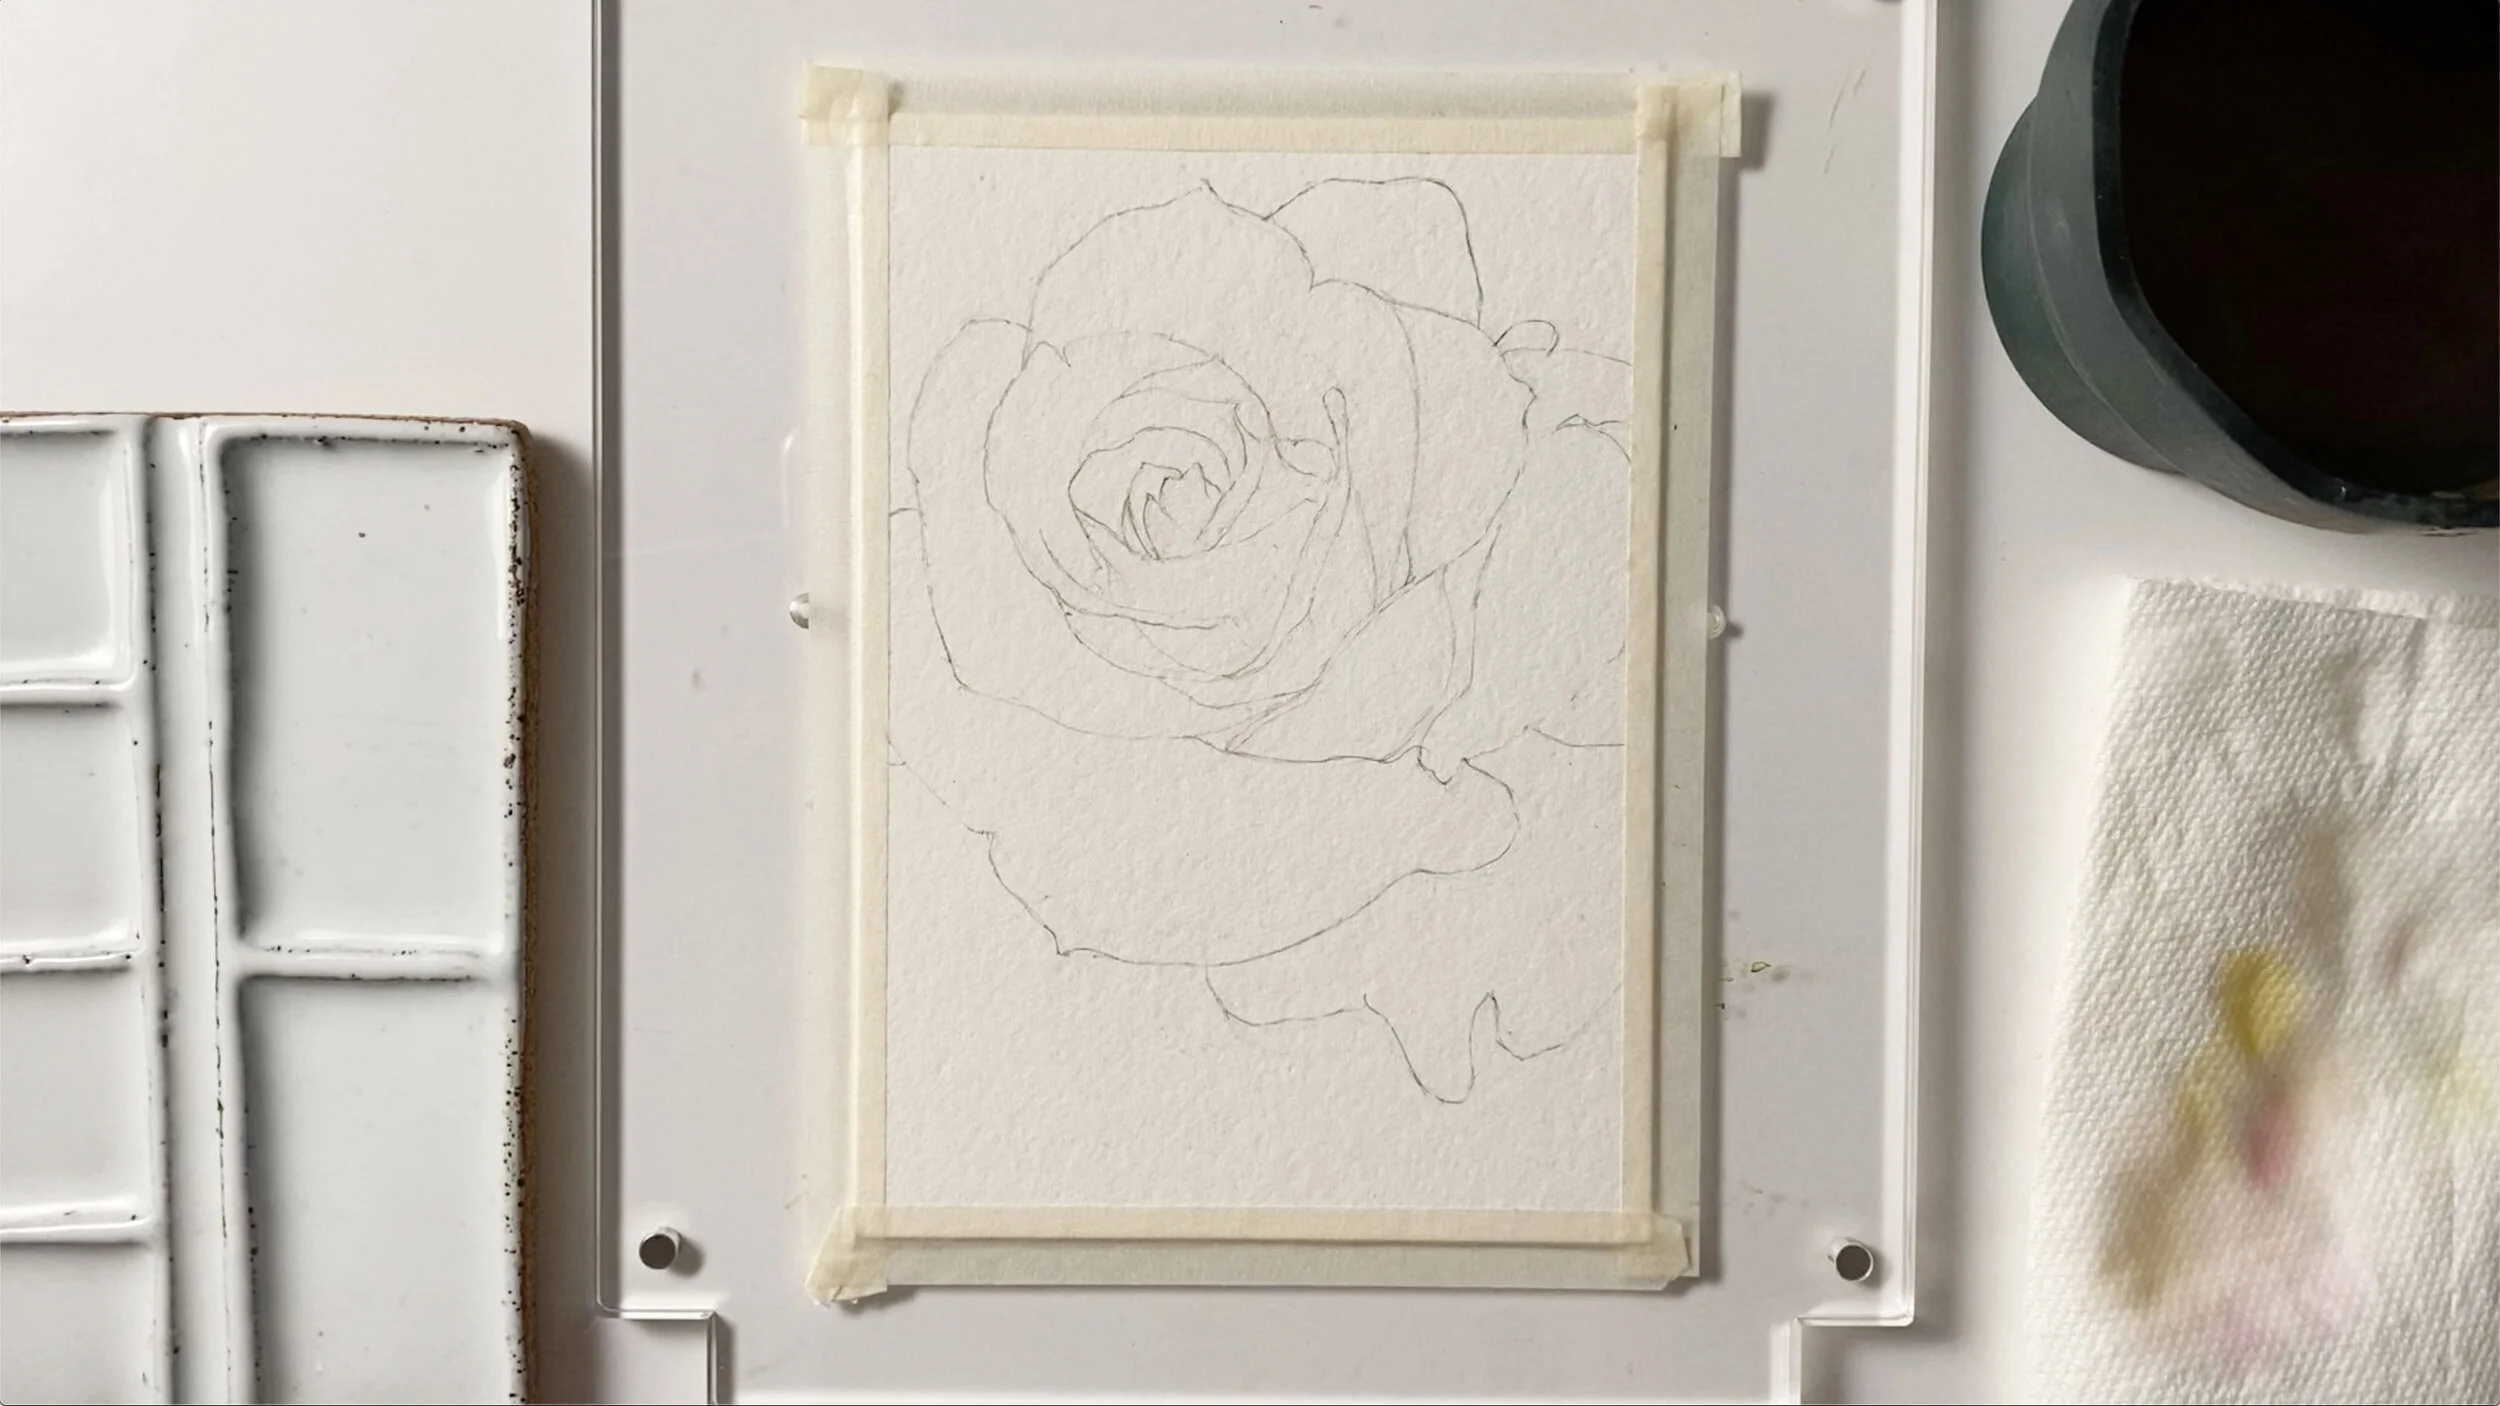
Step 2: Sketch Your Composition
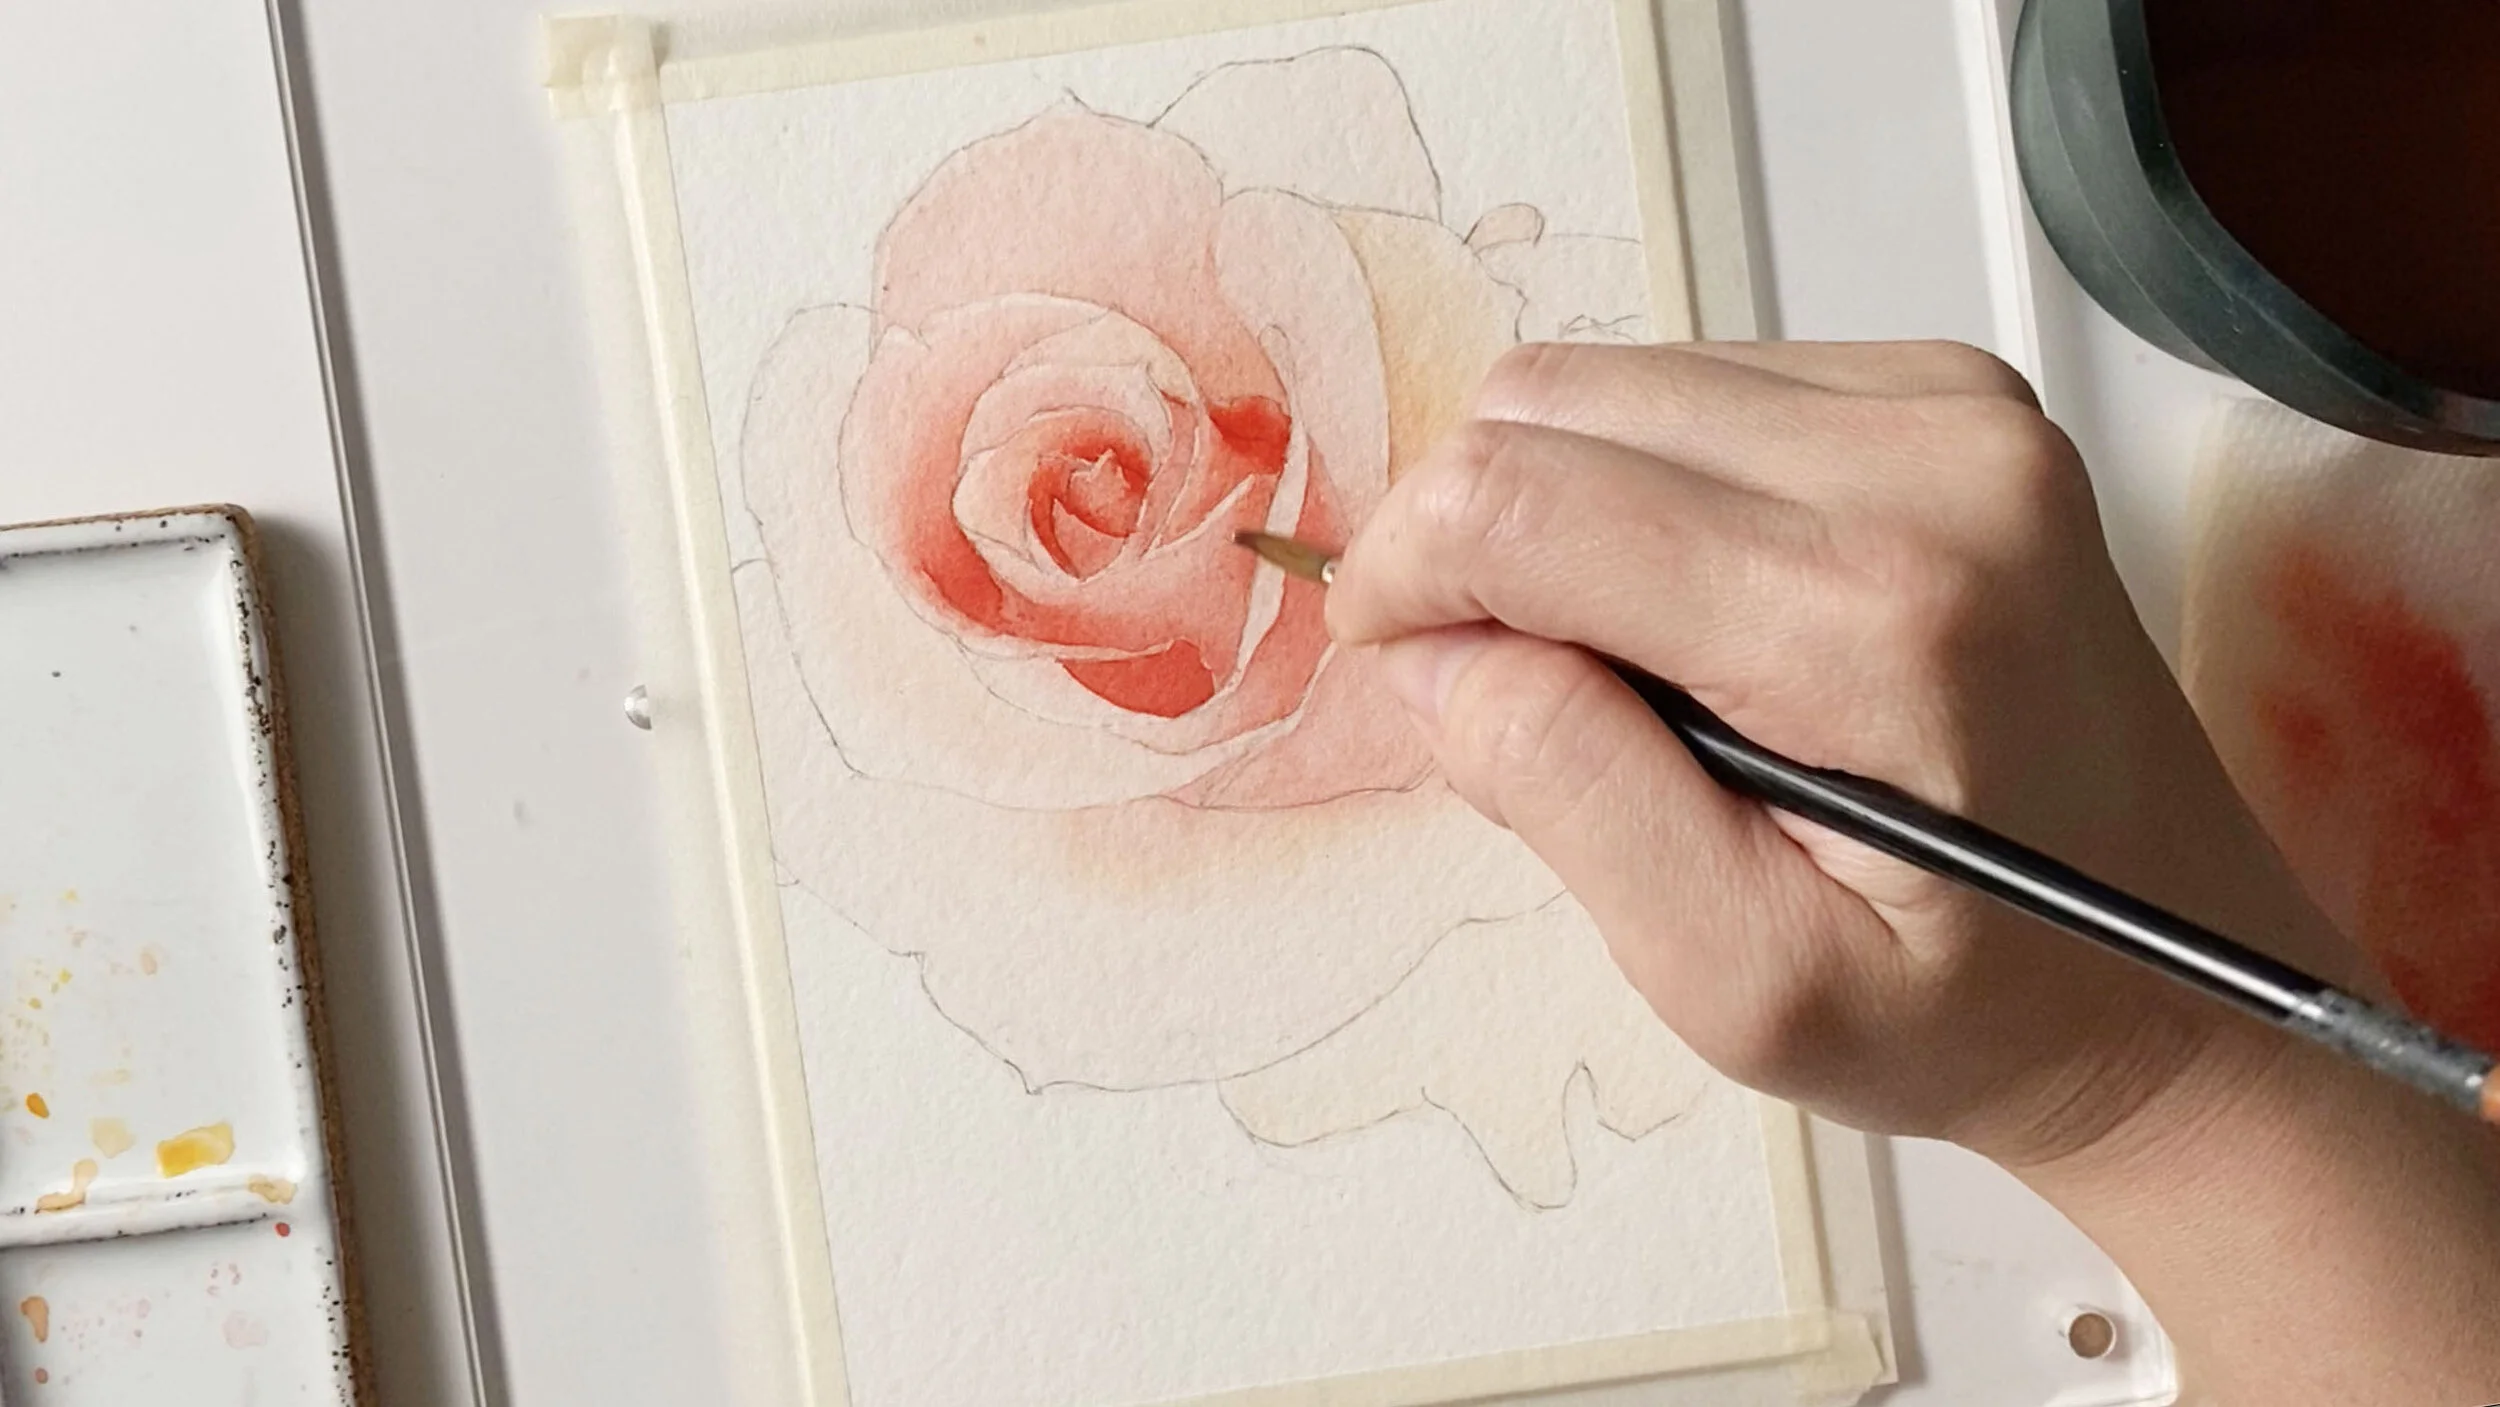
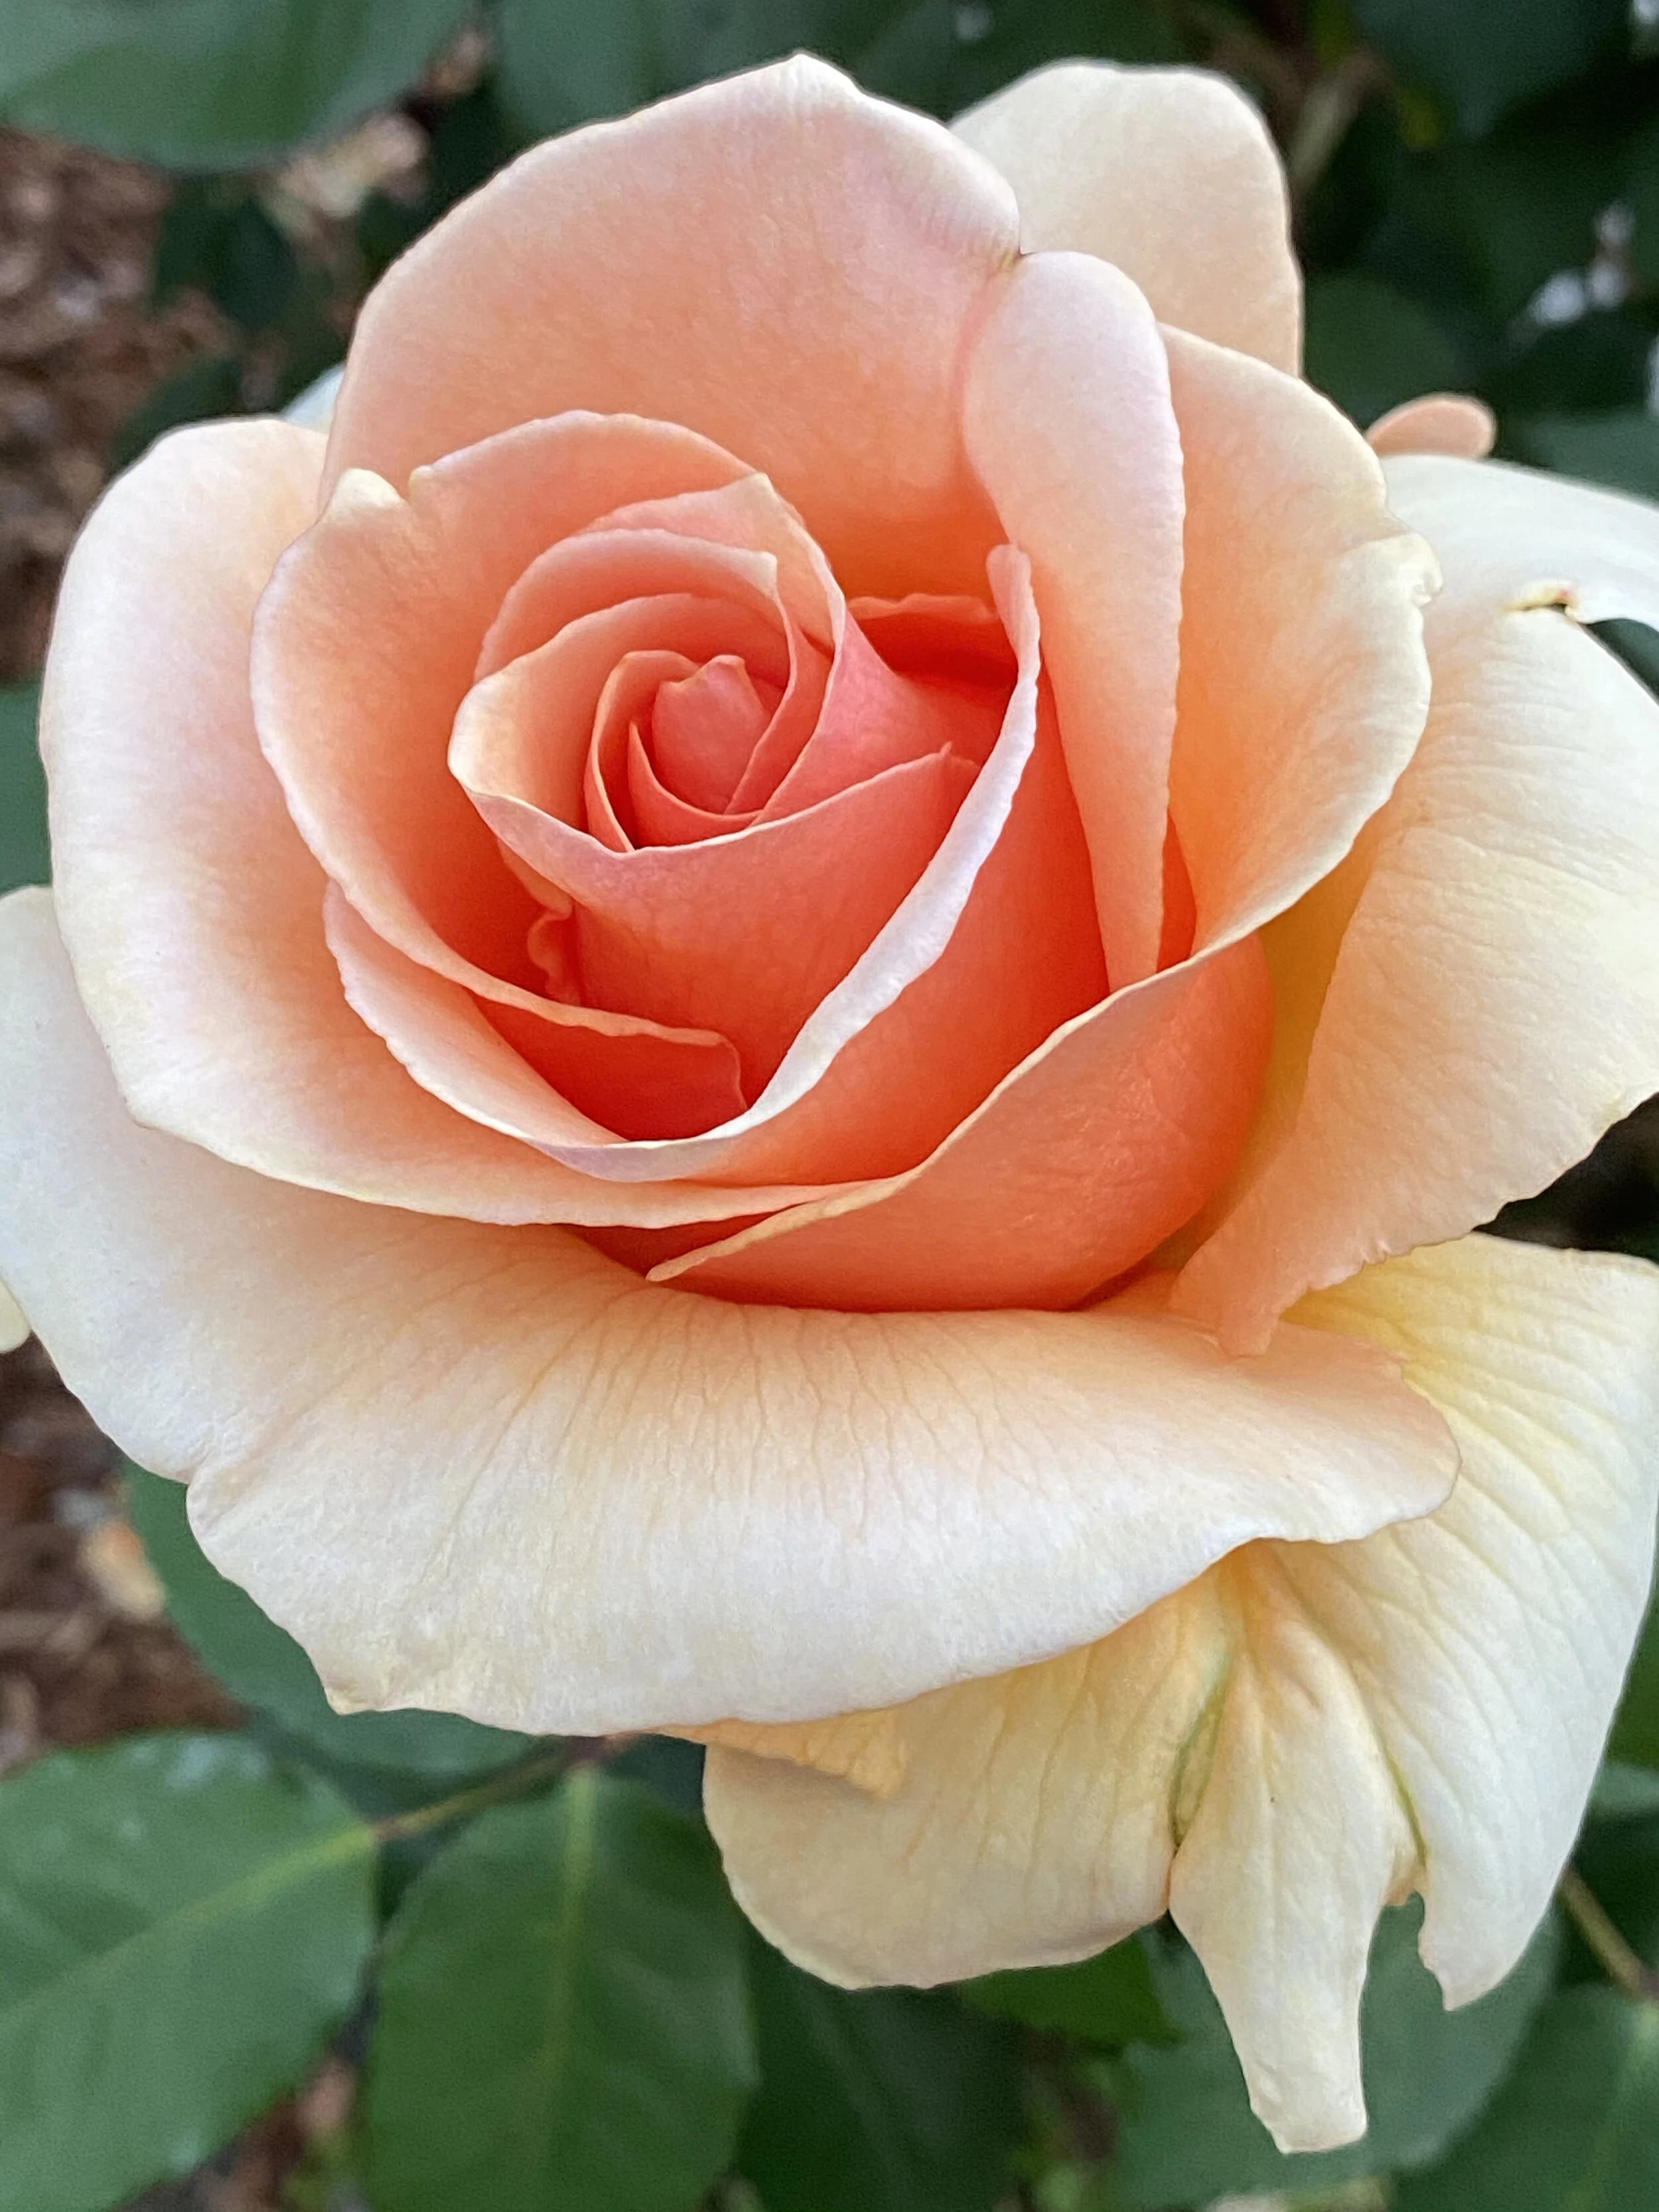
I chose a gorgeous rose that had only just blossomed. Notice its lovely gradation in its petals between the warm coral and creamy ivory. Isn’t that beautiful? Let’s get started by creating a light sketch of the rose. With a No. 2 pencil, capture the contours of each petals. I decided not to include the leaves in the composition. It’s up to you whether you’d like to include the surrounding elements.
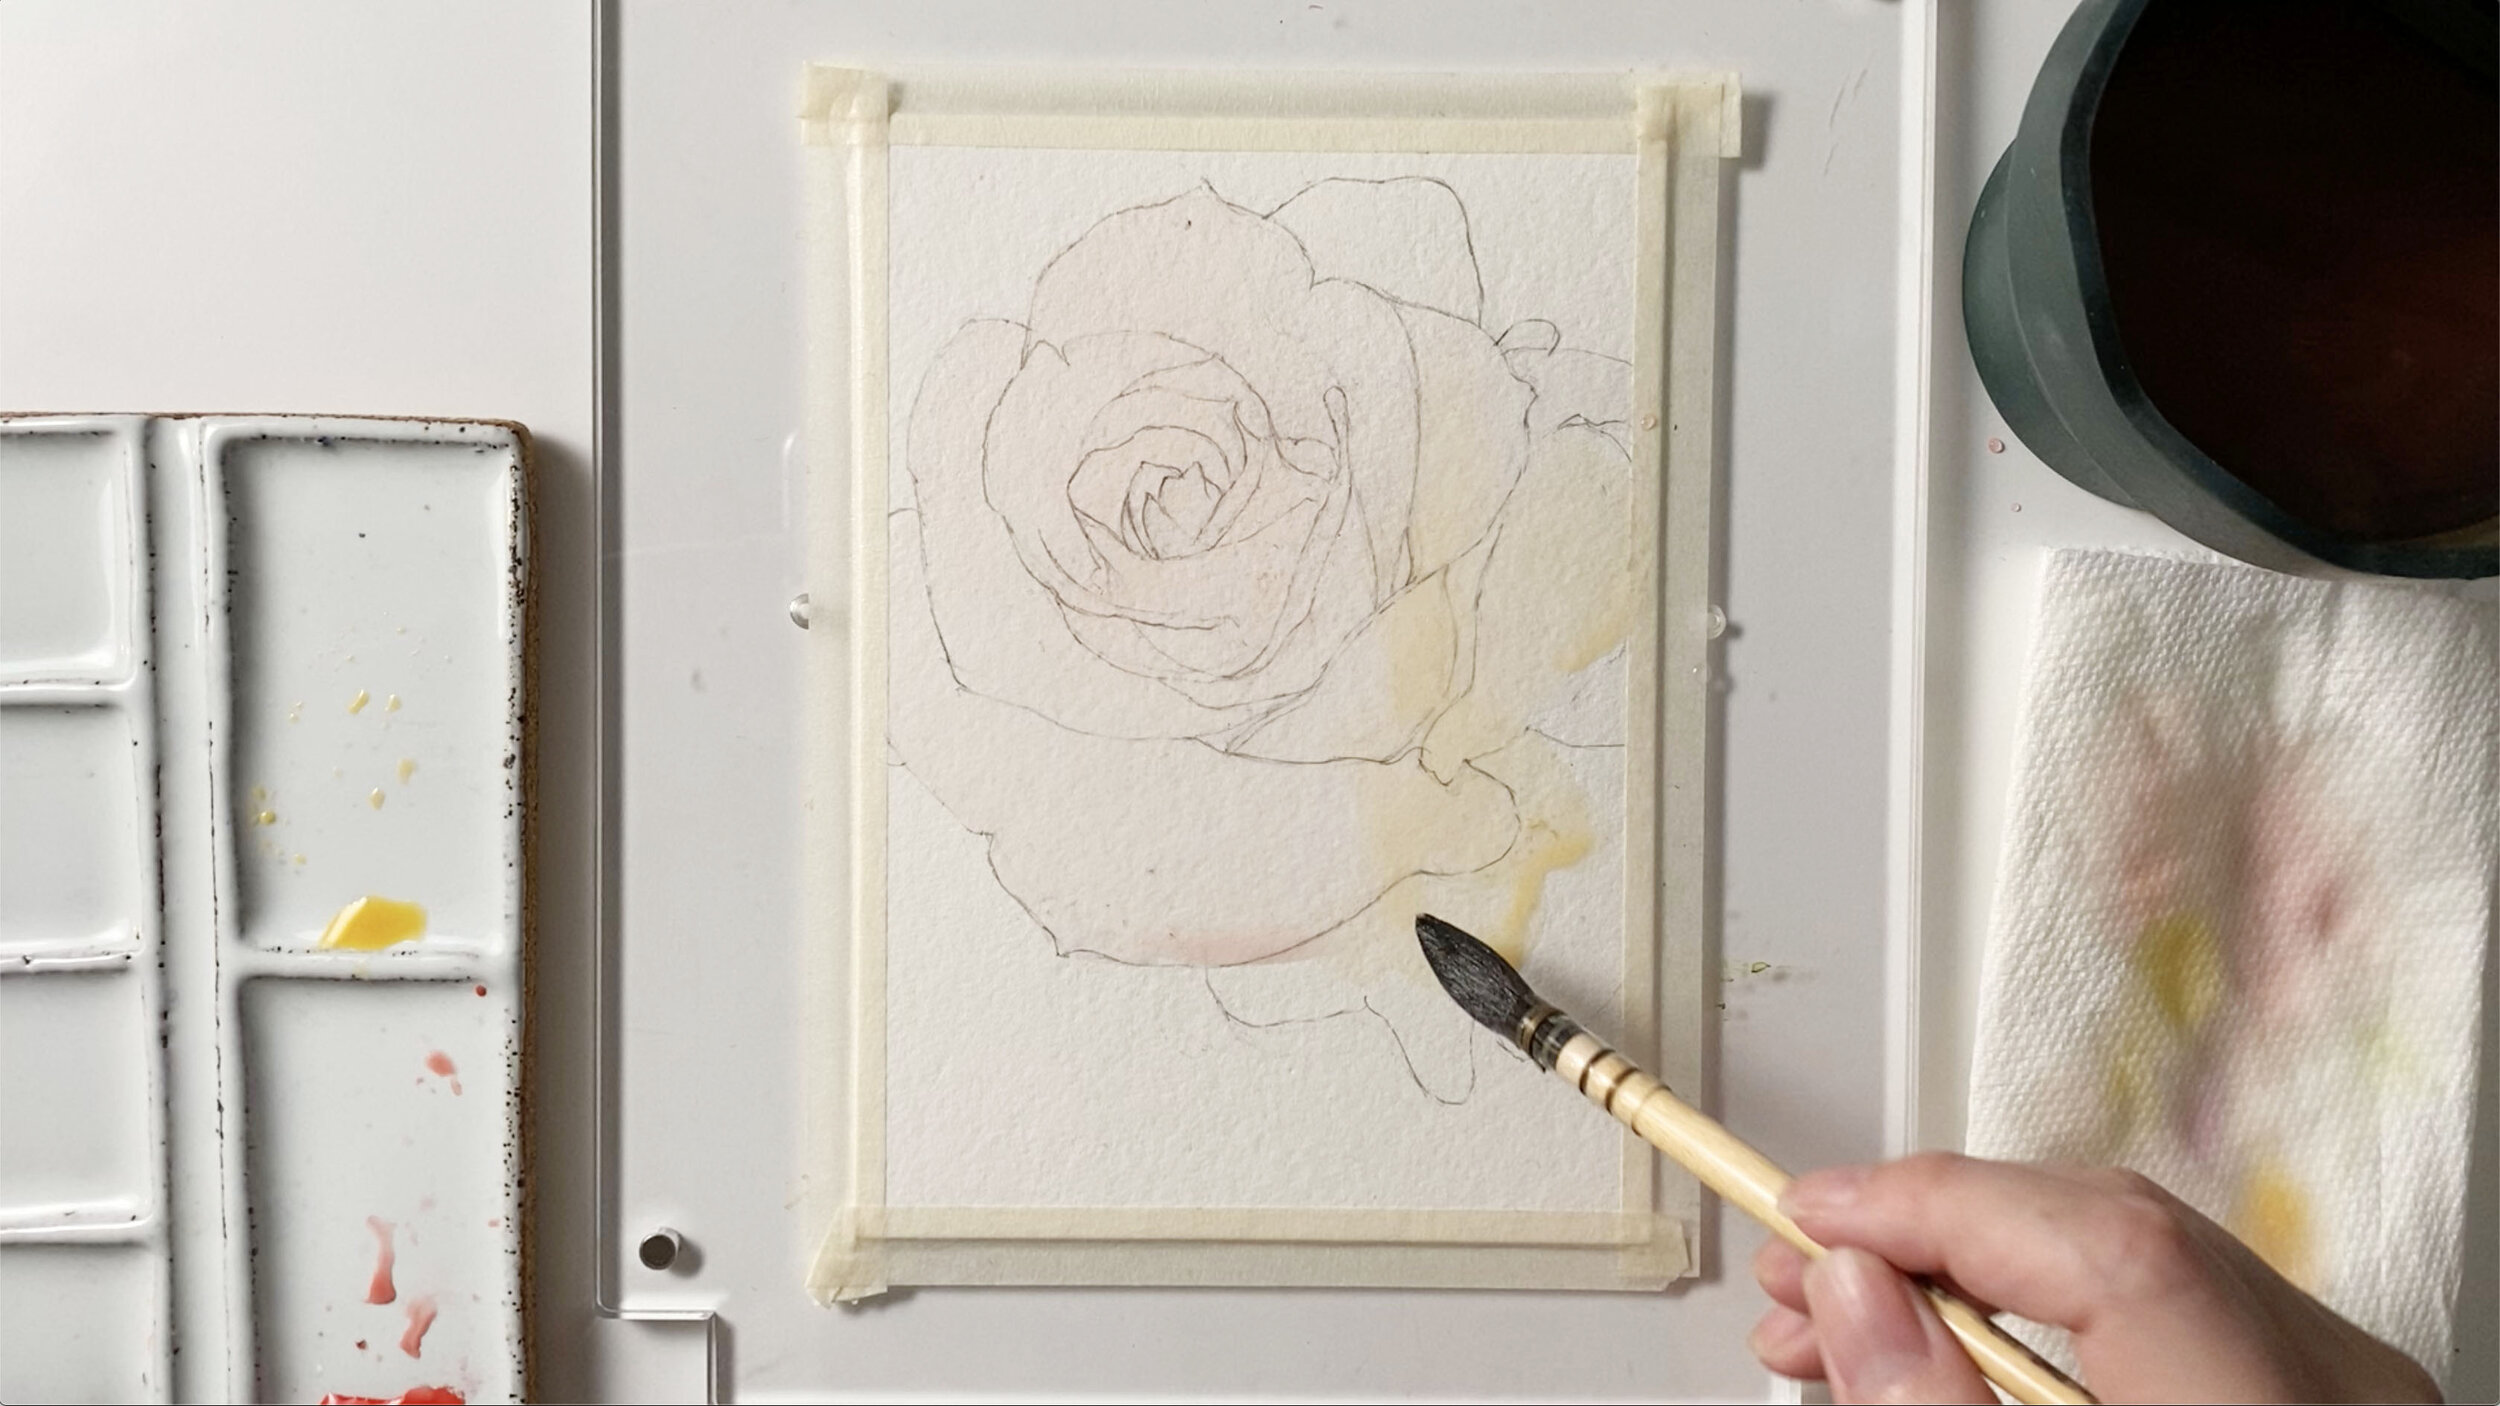
Step 3: Paint A Light Wash
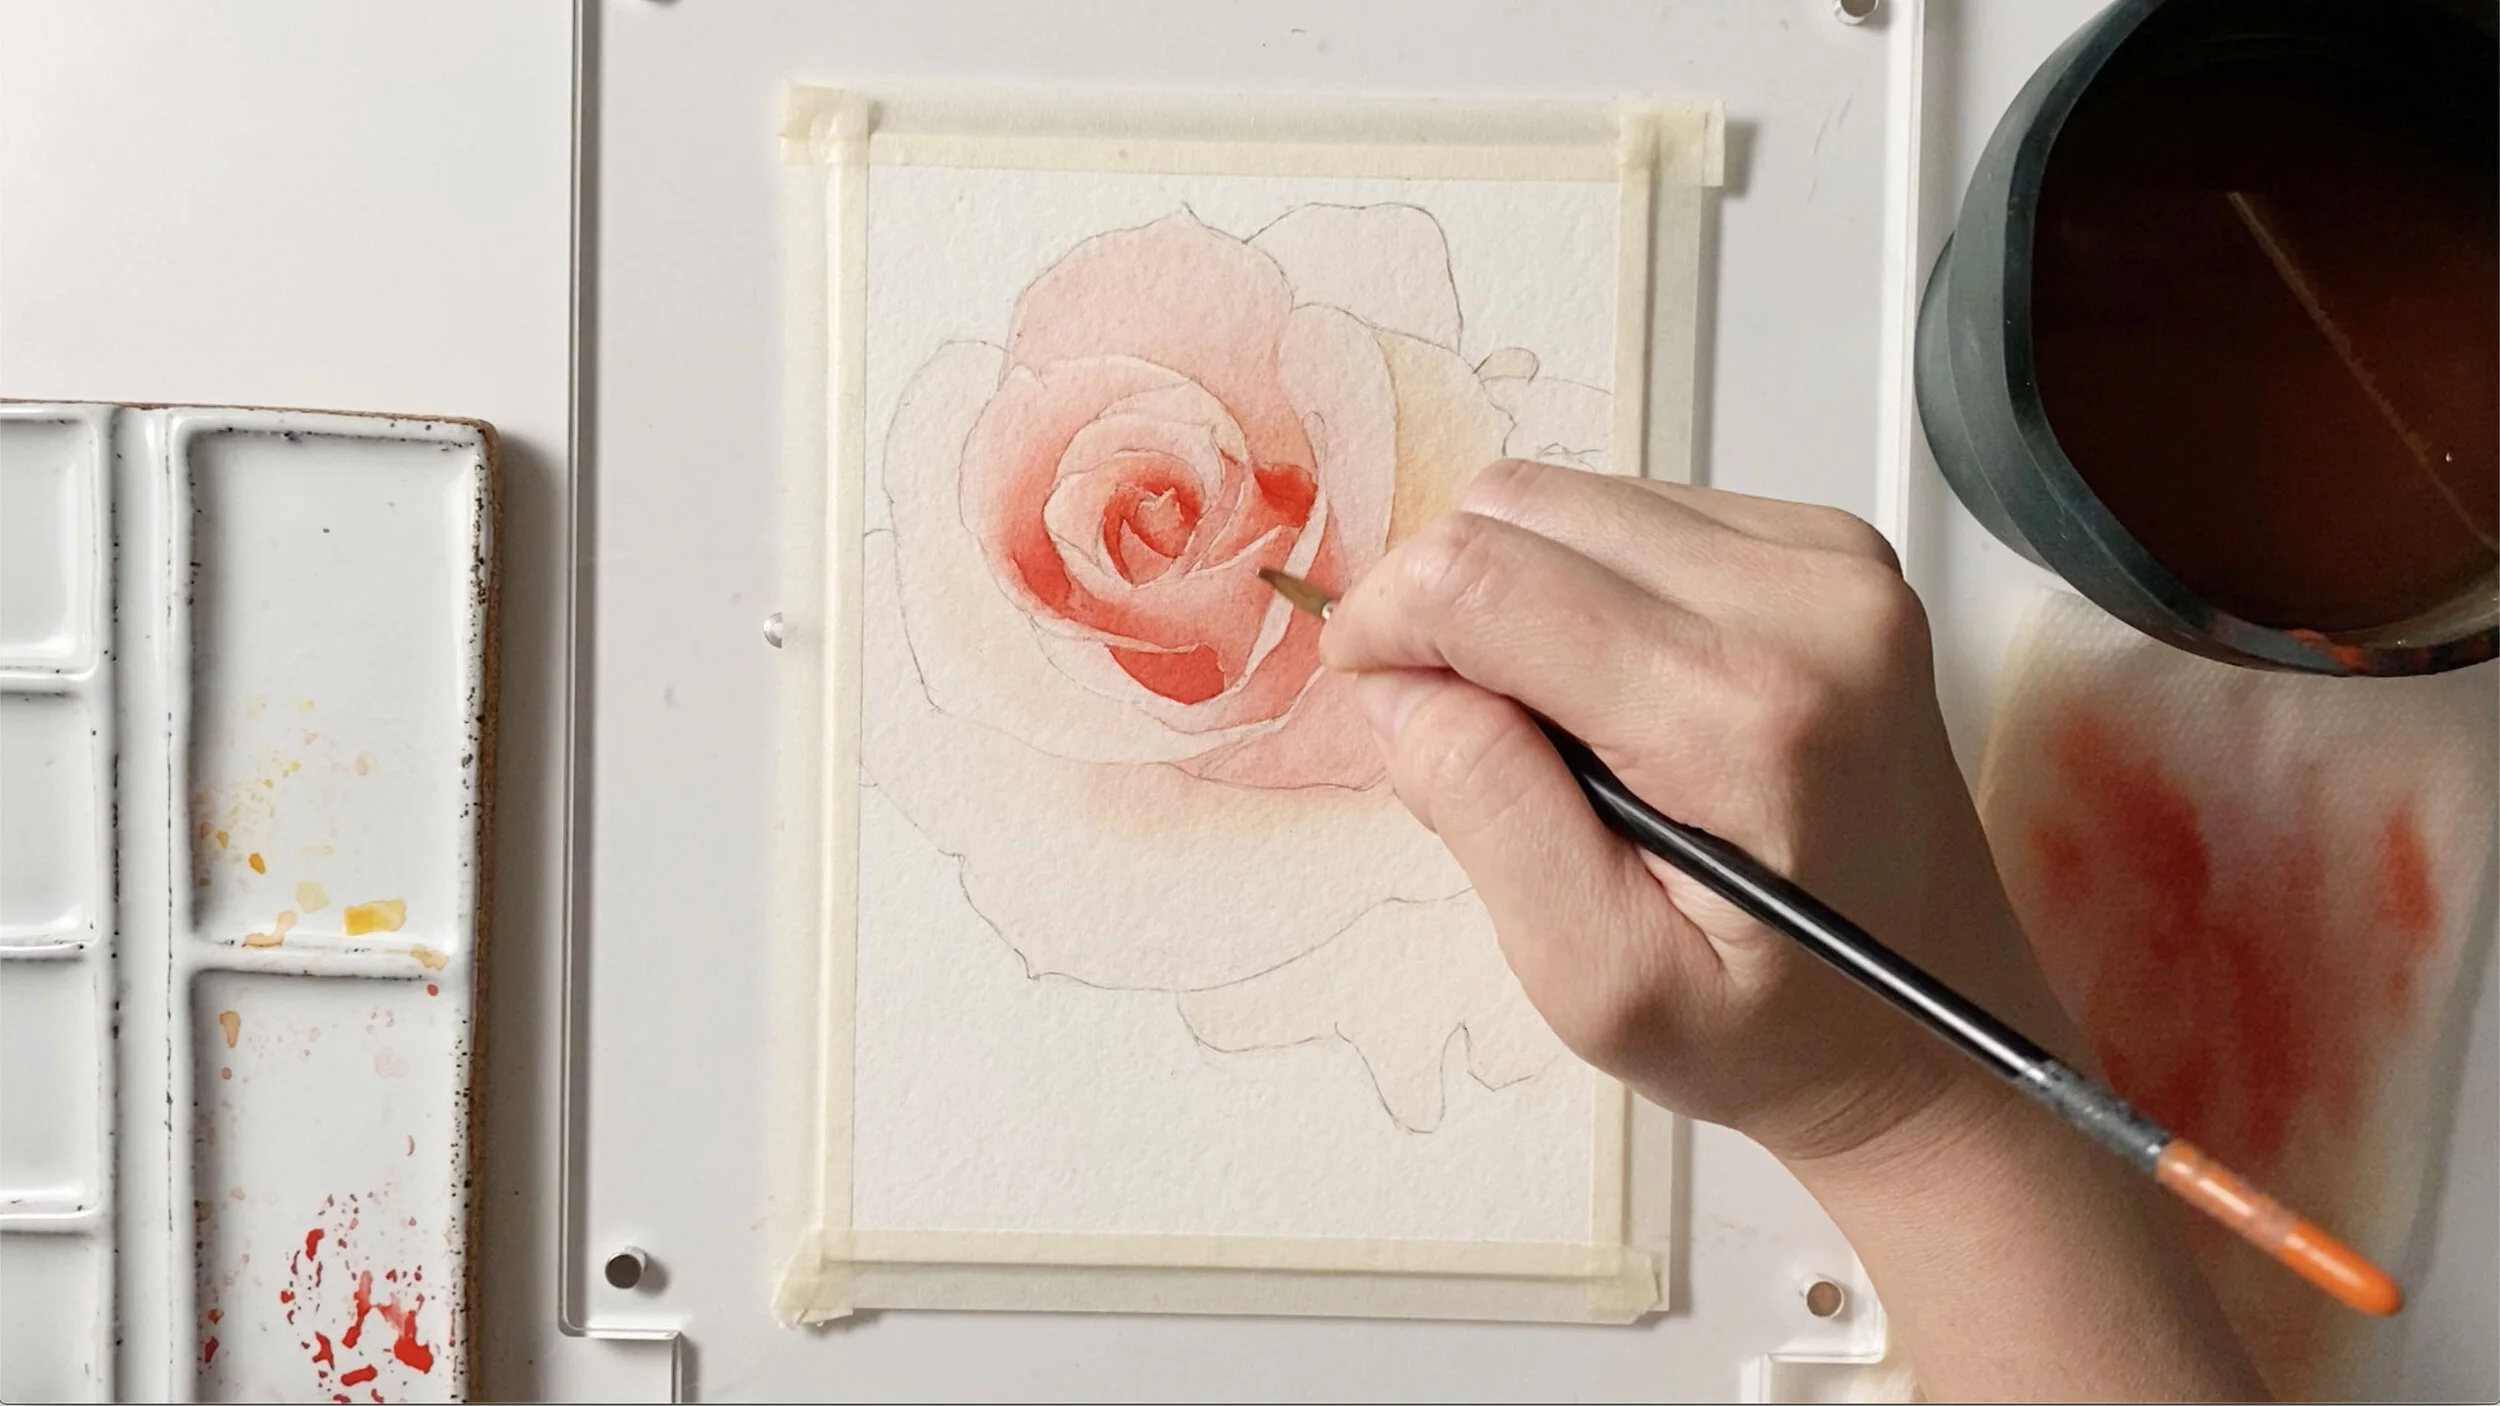
Begin by painting a very light wash with only a pinch of pigment to water. Think of this as creating undertones or foundation before adding any definition or edge work.
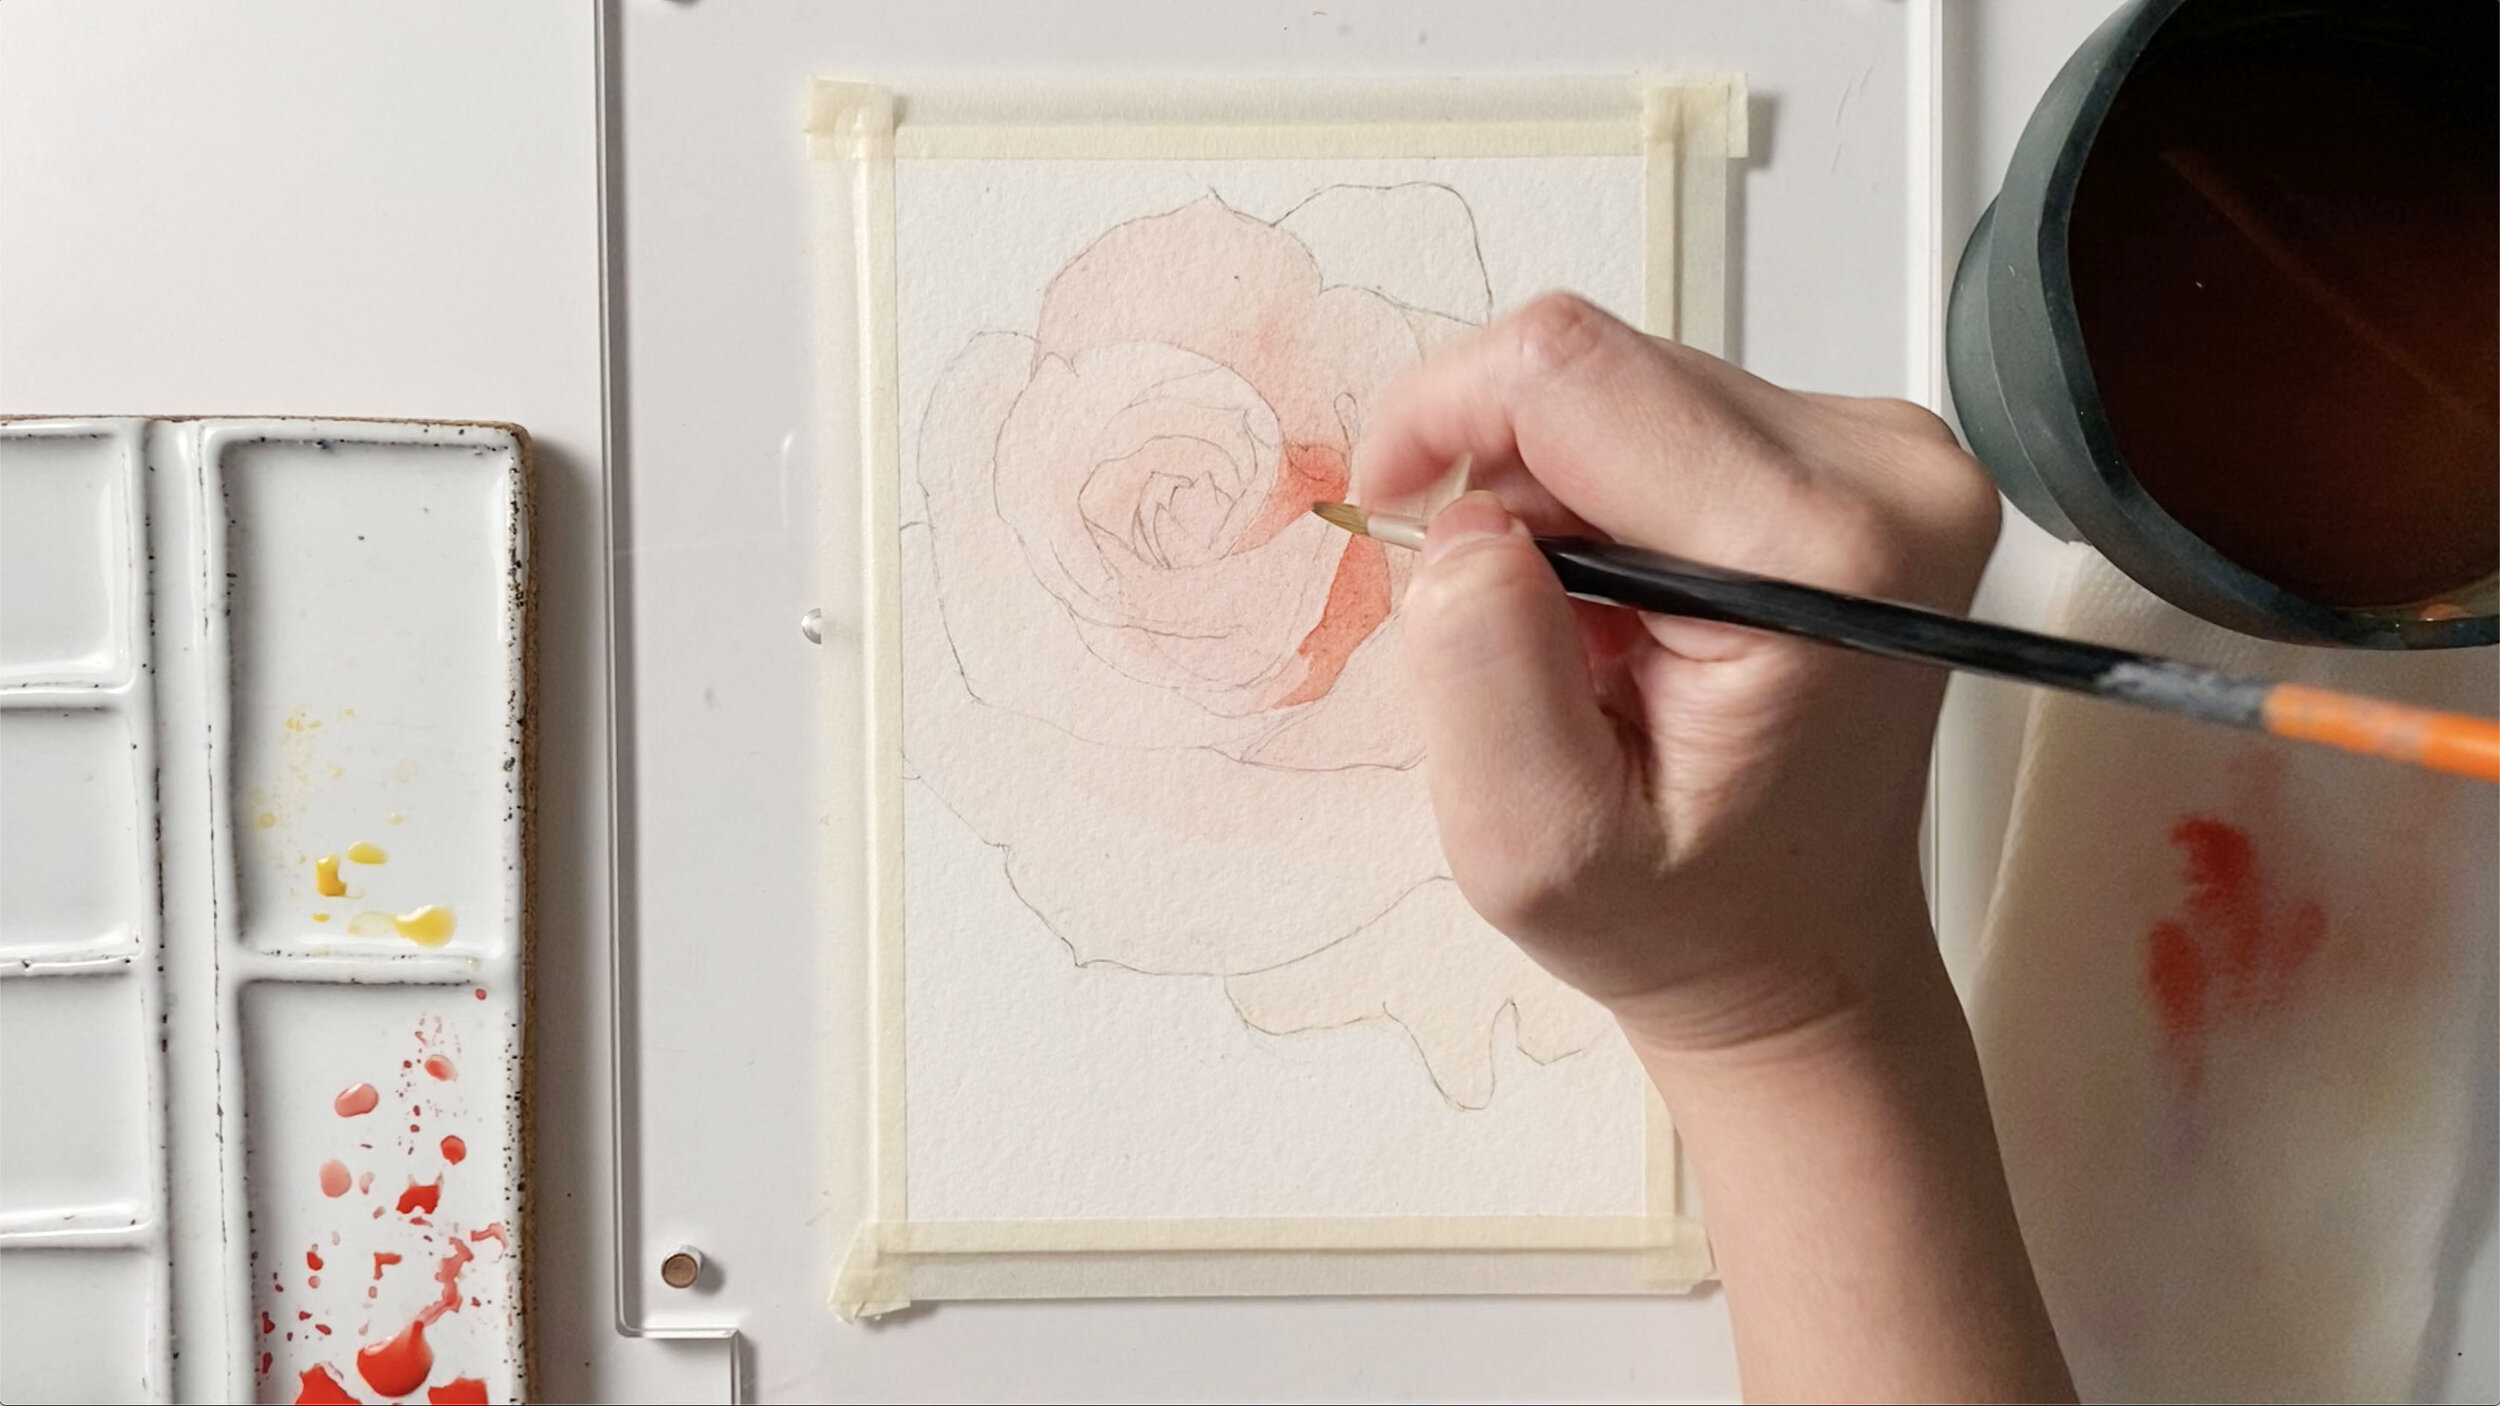
Step 4: Layer in the Midtones
Once you’ve let your first wash dry a bit, begin layering in the midtones and adding more pigment to your water.
Step 5: Create Depth with Intensity
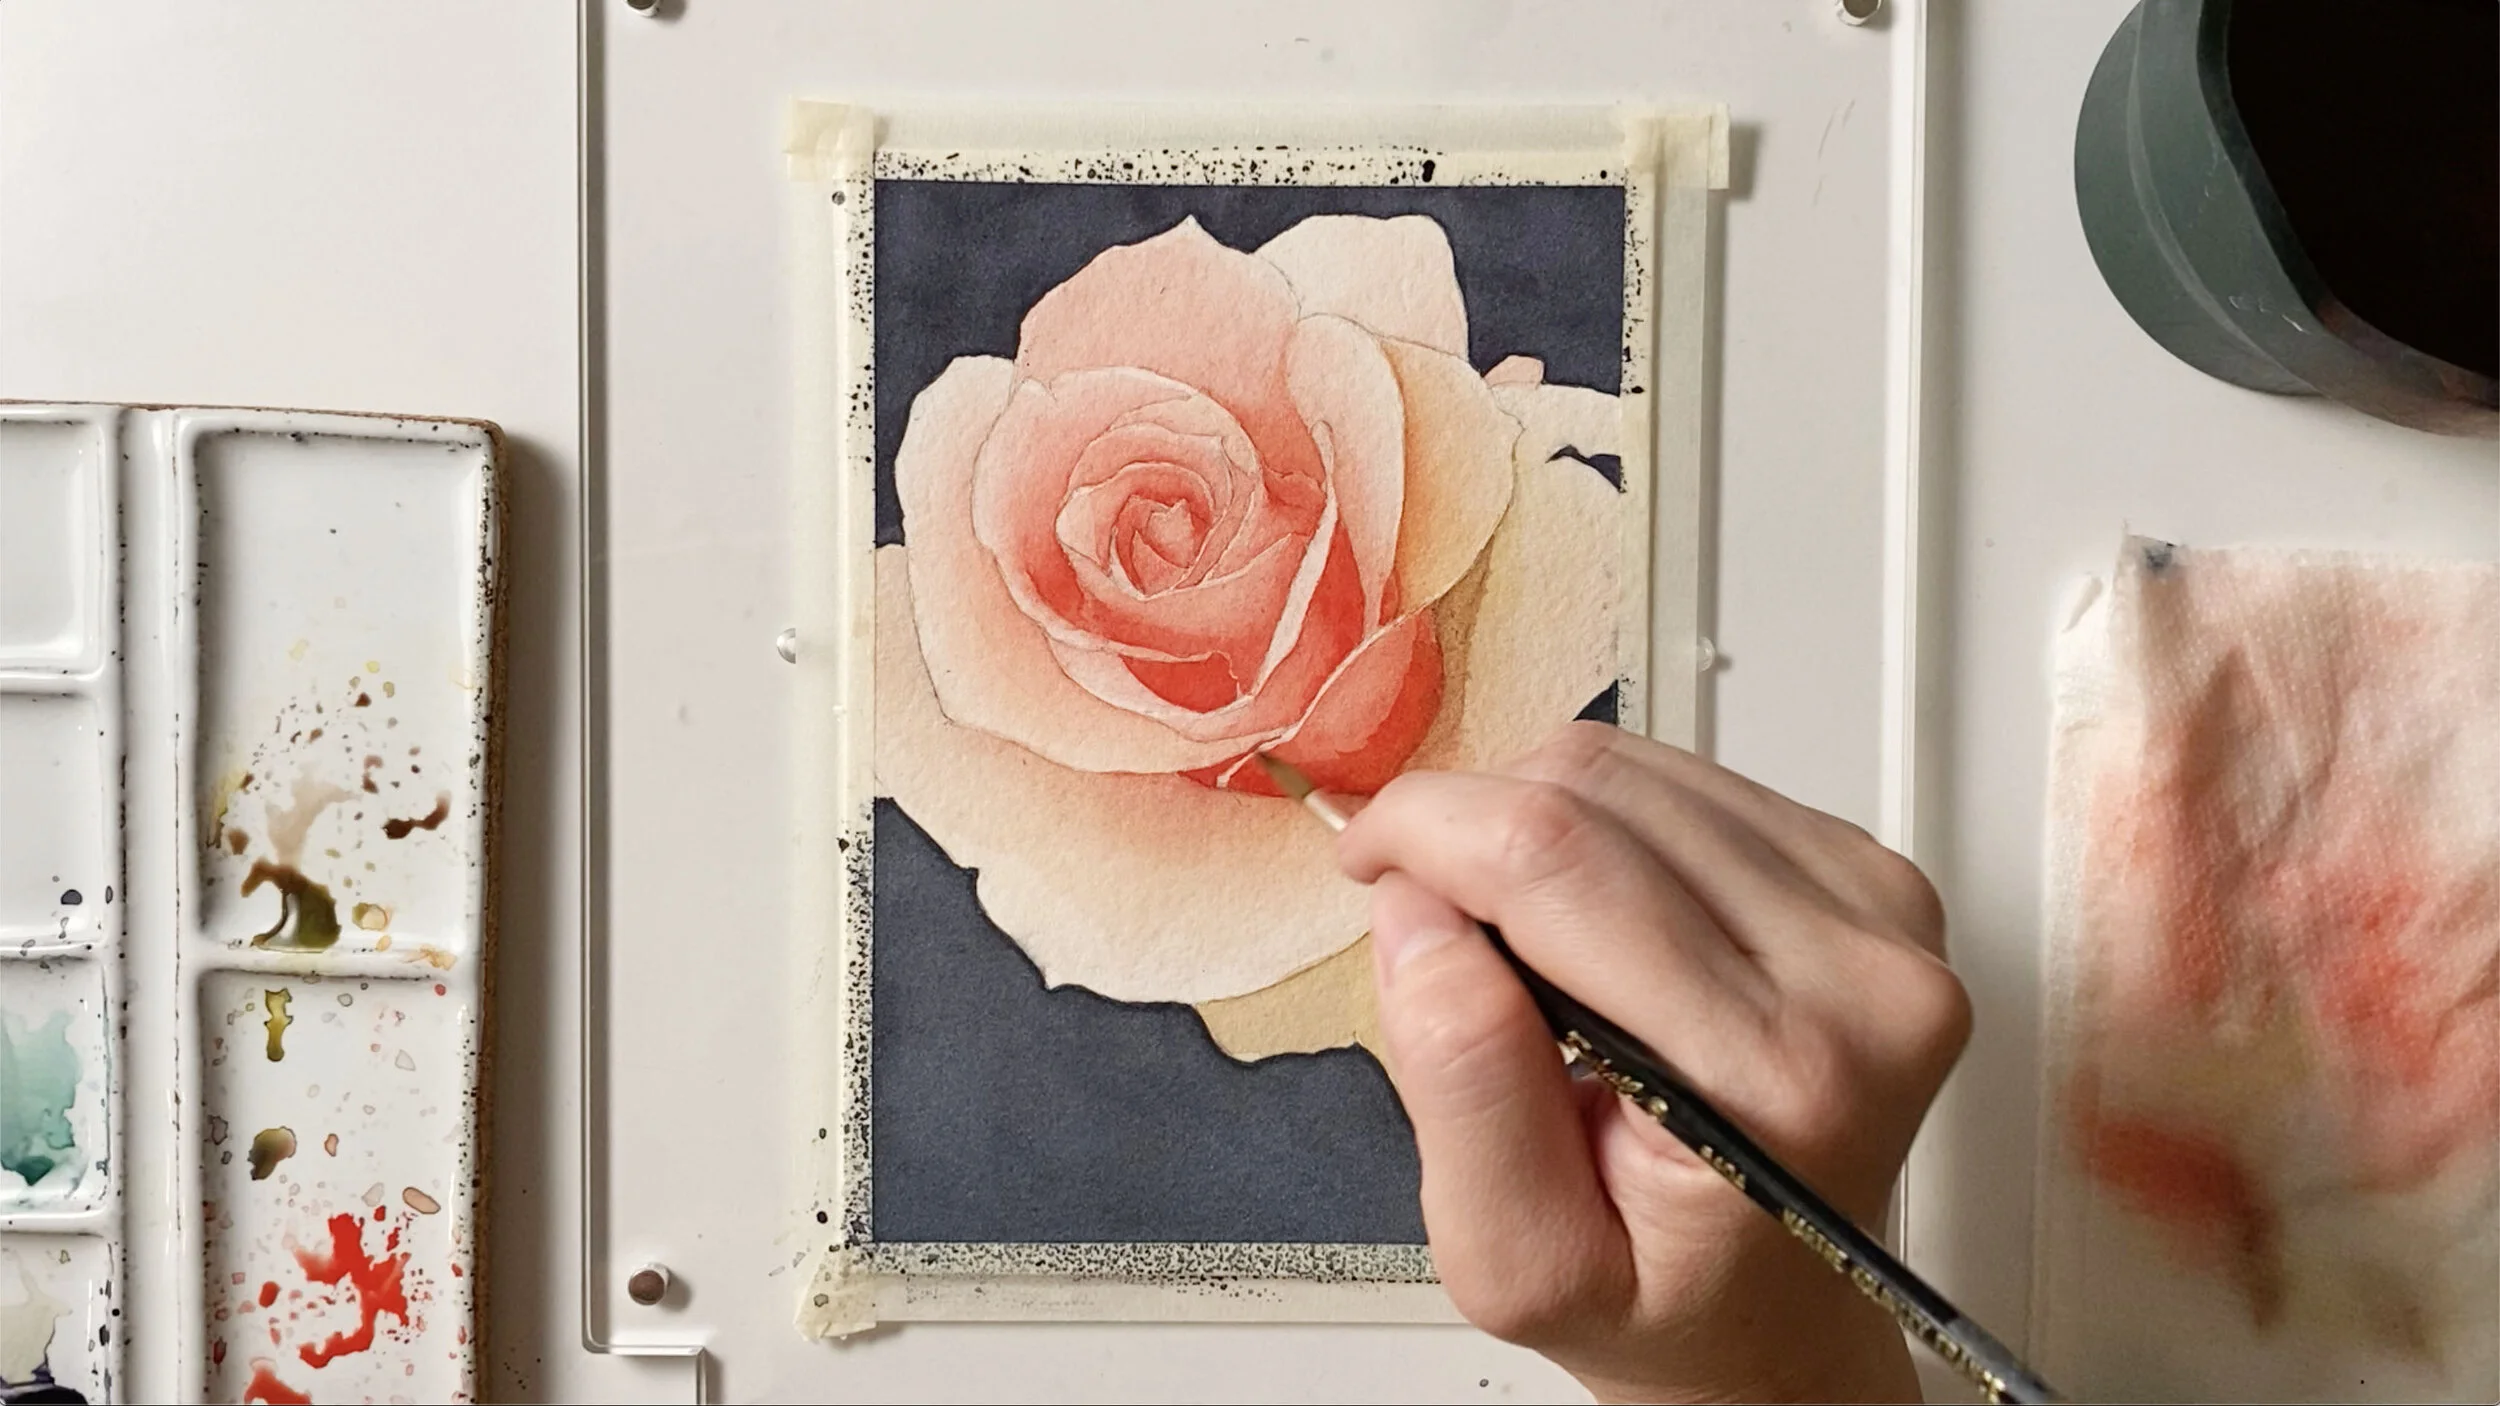
Let’s really make that rose emerge from the page. Add depth and definition by increasing the intensity of your pigment. Carefully increase color along the edge of each contour, then add clean water to pull the pigment out to create a gradient wash.
Step 6: Fill in the Background
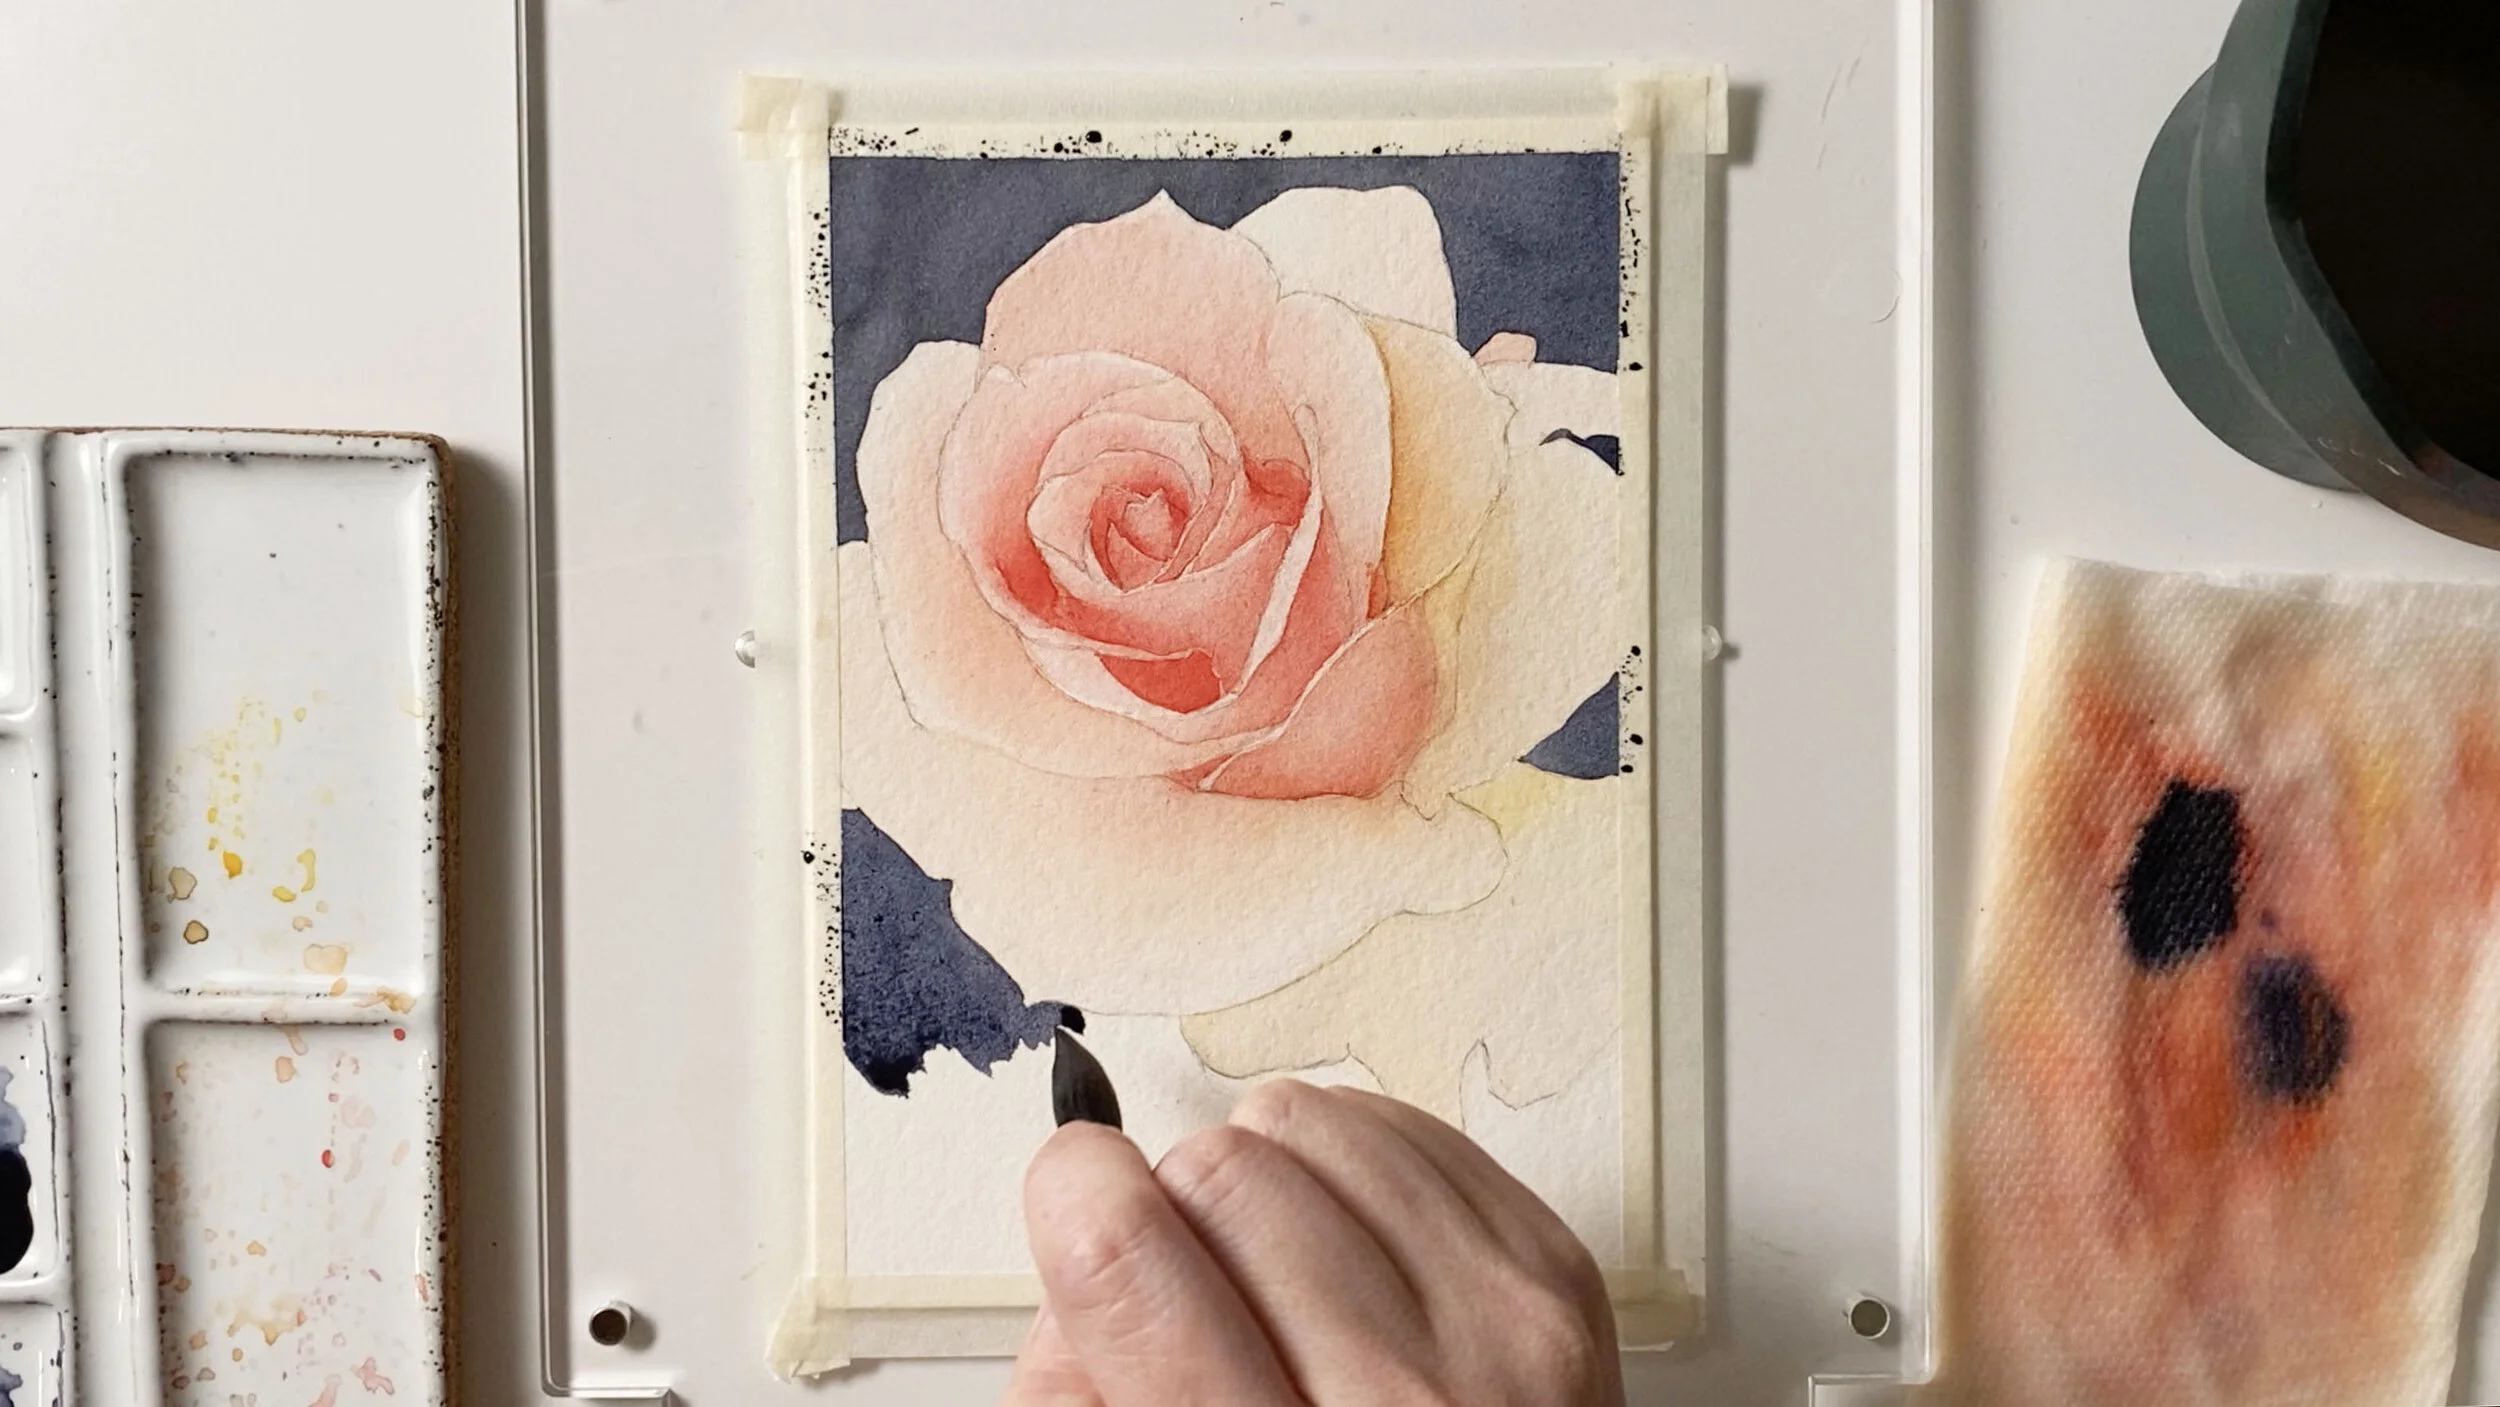
Before we add more color and definition to the rose, let’s fill in the background with our neutral tint. Use the mop brush to get around the edges of the contours.
Step 7: Find Balance with Contrast
Now that your background is in, you can evaluate how much more contrast to add to make that flower really pop off the page.
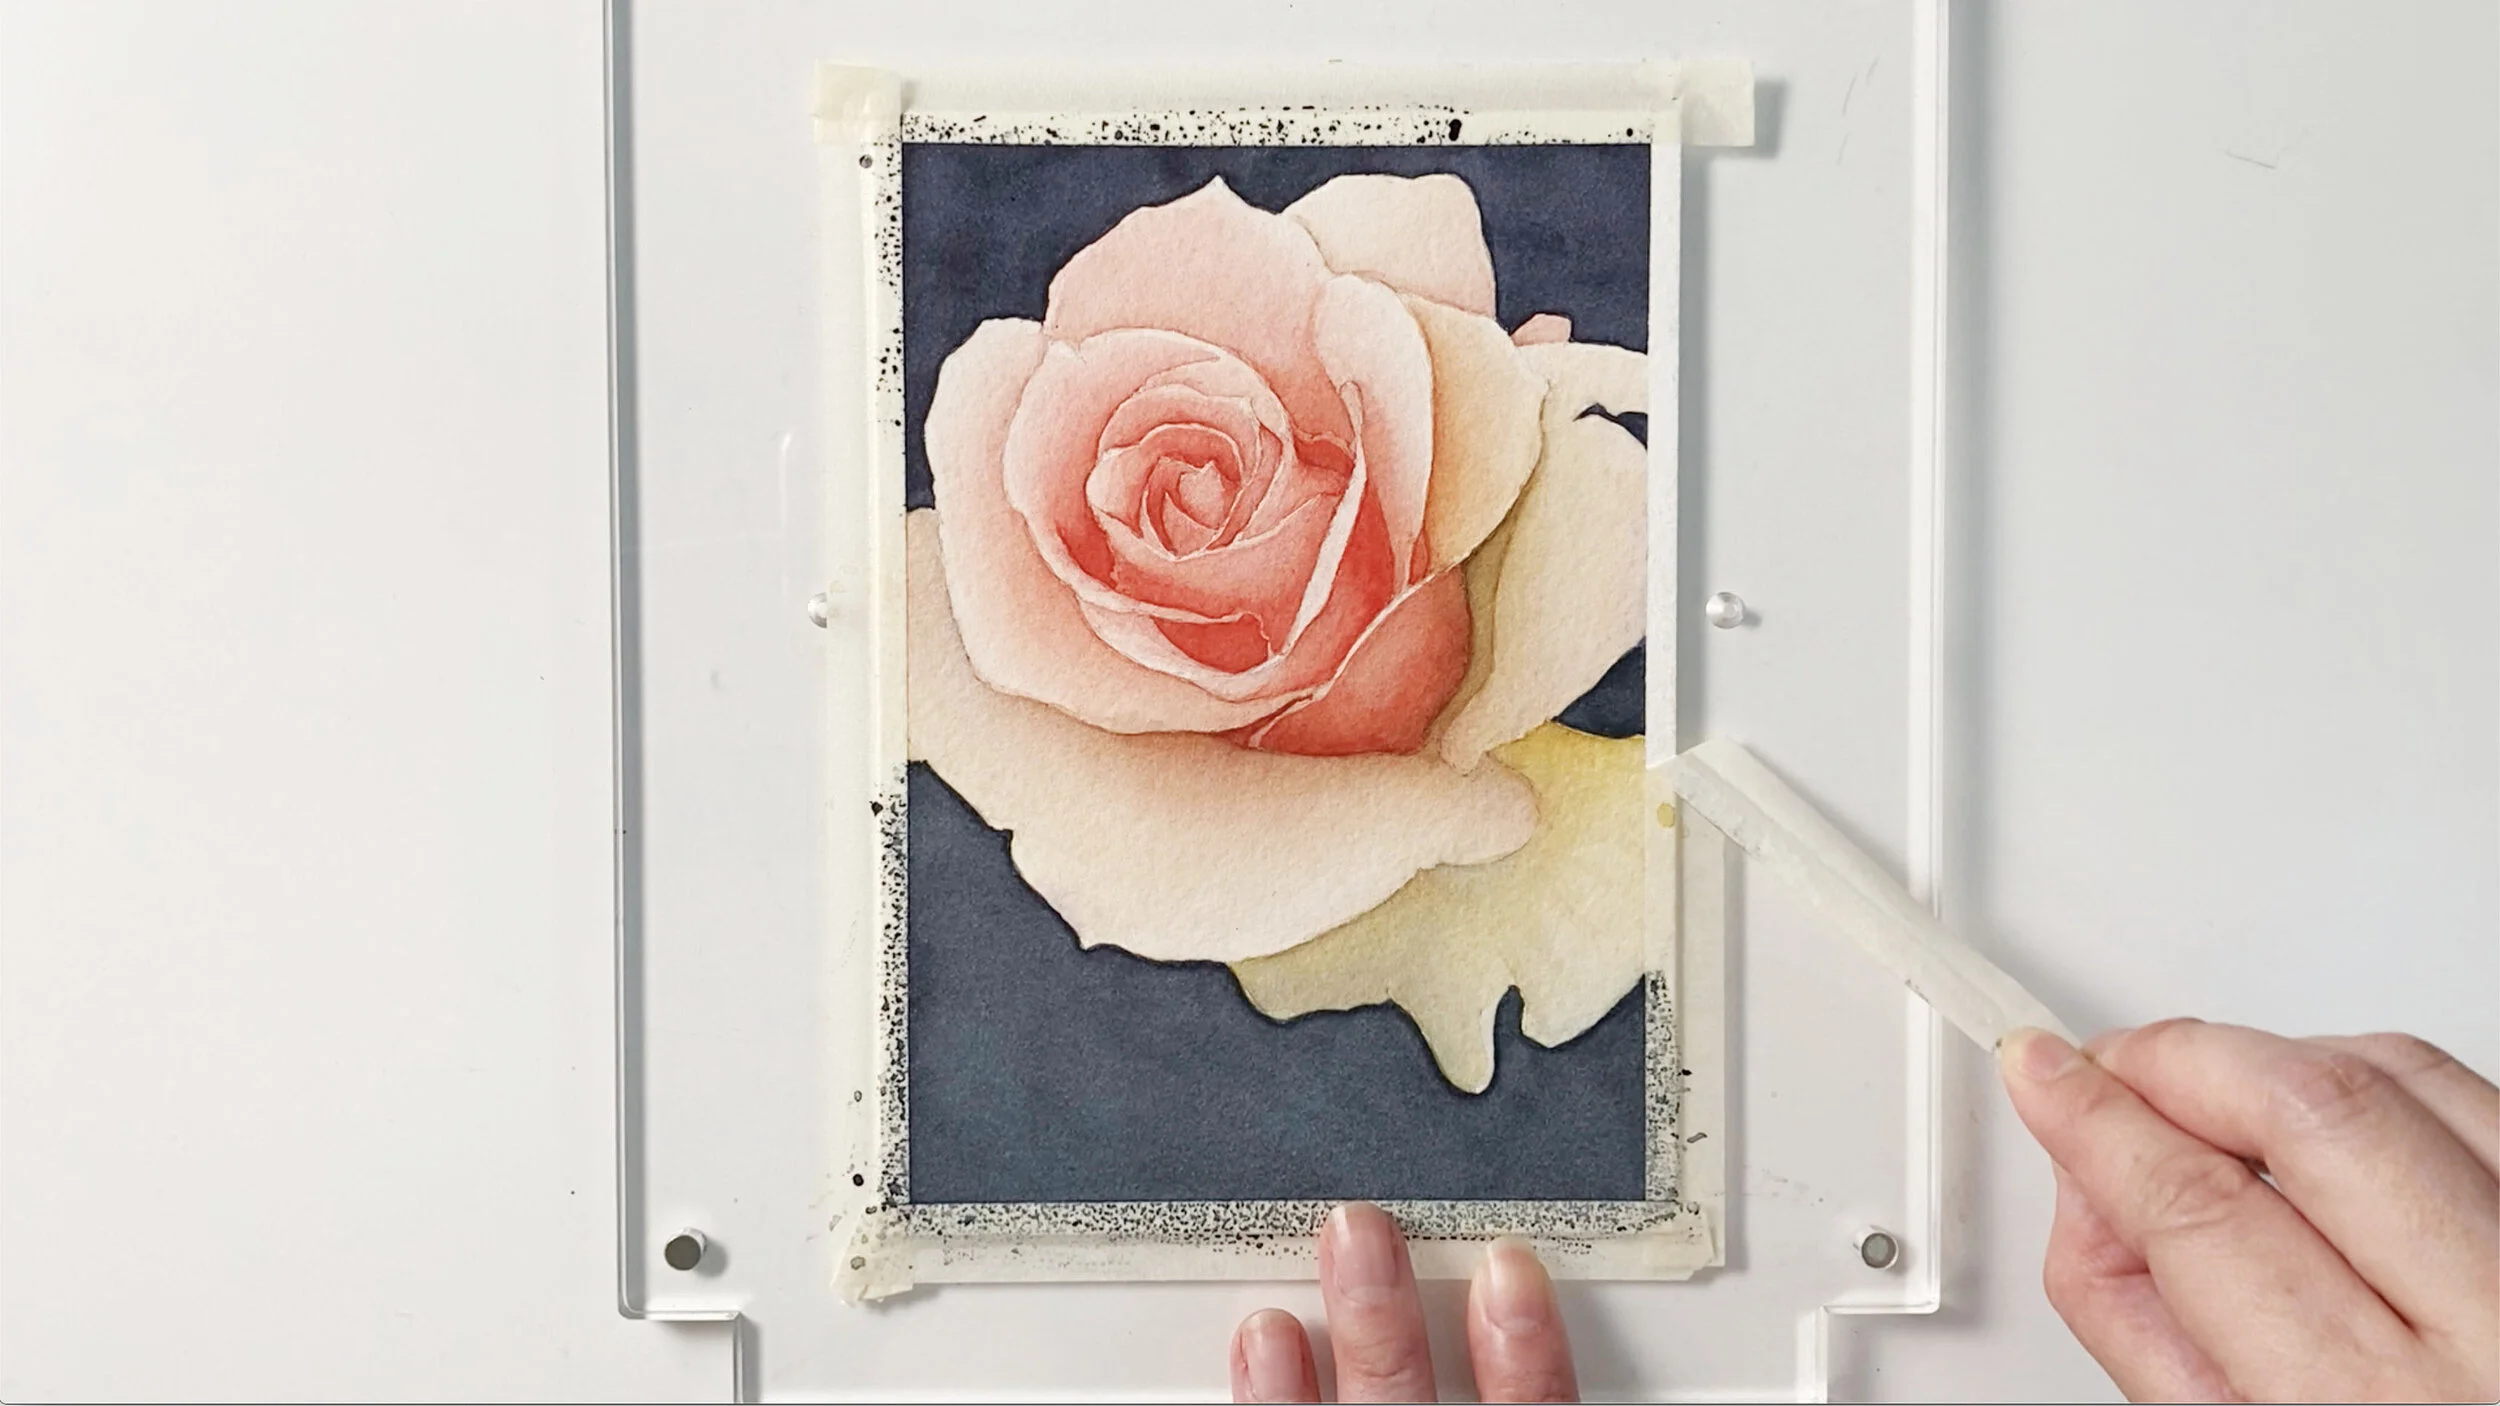
Step 8: Finish with Shade and Shadow
Finally, let’s create shade and shadow by adding a pinch of ultramarine or neutral tint to your red or gold mix. This adds dimension to your subject and doesn’t make it feel flat against the dark background. And voila! We have our rose.

